DIY drip feature wall

Ever since I installed the drip wall for the Localise Youth Room at Sophia House, I’ve wanted to incorporate a drip feature into our apartment. And as is typical around here, a year+ went by. 

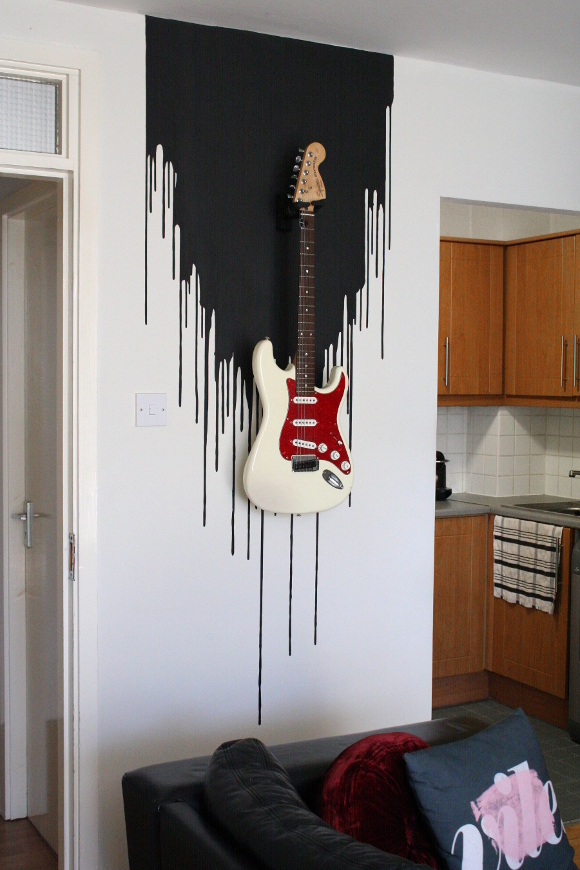
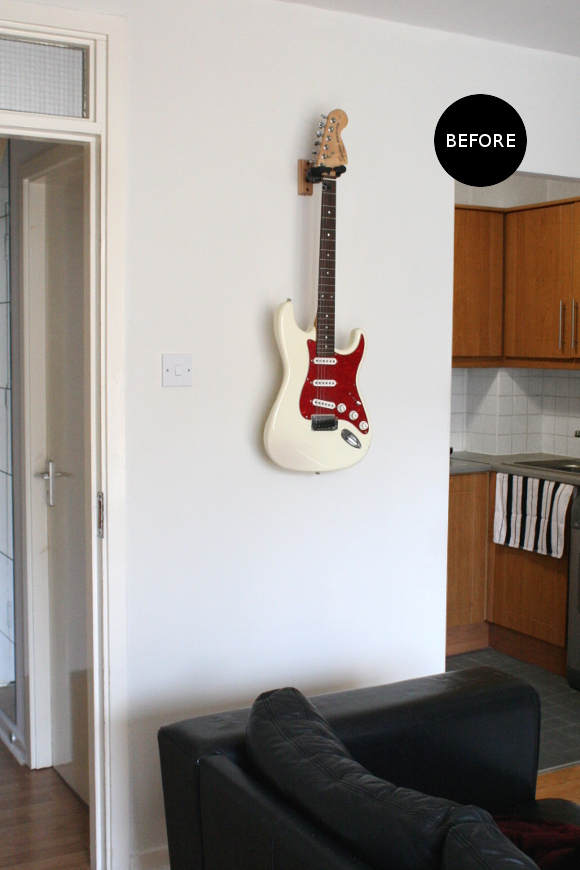
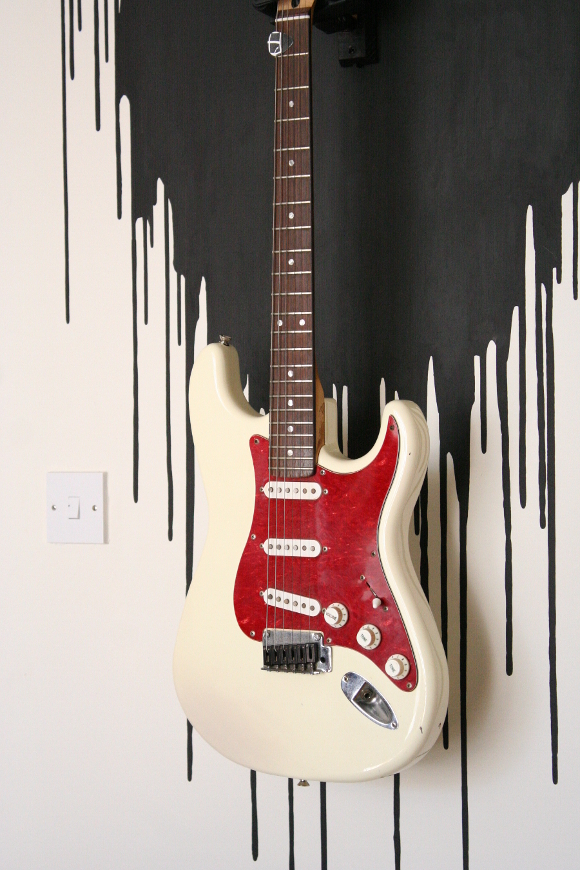
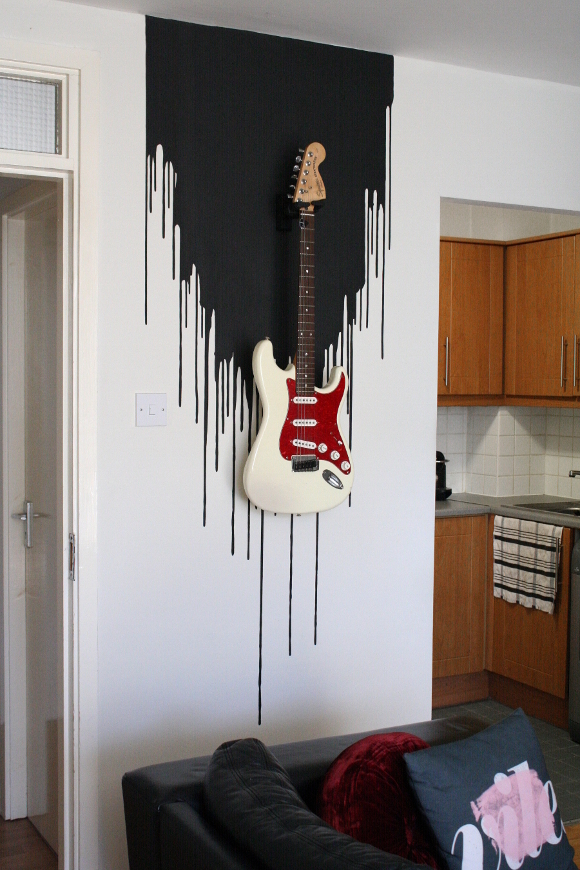
For husband’s birthday in January of this year, I got him a guitar hook thingy to display his Stratocaster. There it perched on our living room wall between the hall door and the kitchen all lovely for a couple of months, but I had wanted to add a little something else to the wall to make it pop. And that’s when I had my lightbulb moment.

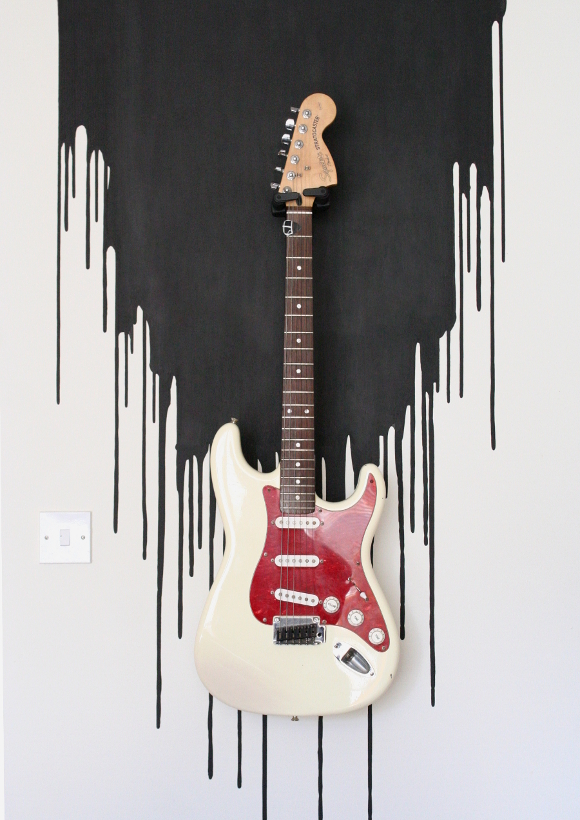
The guitar is in fact centred, but because it hangs about 5 inches away from the wall, it looks off-centre in some pictures. And it’s driving me a little bit insane. Especially in the first picture. The drip feature is centred! Please believe me!

What you’ll need … 
– paint, either wall paint or guache DO NOT USE GUACHE PAINT. See my revised post here about why you should use appropriate wall paint.
– water [I added about a tablespoon of water to every 100ml of paint, then shook it up]
– drop cloth to protect your floor, just in case
– a bottle with a resealable nozzle lid 

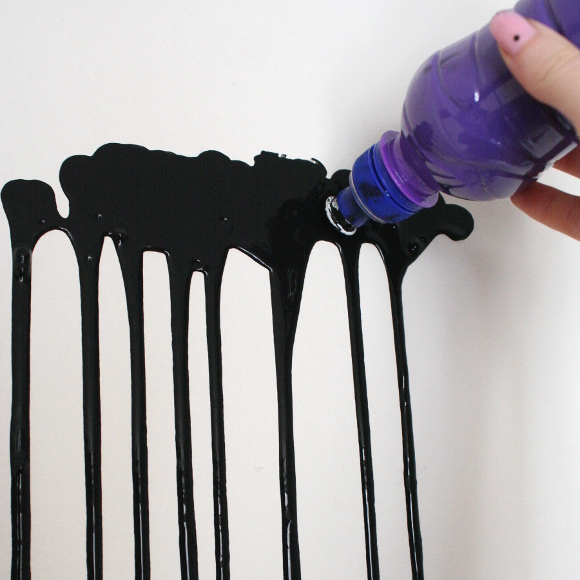
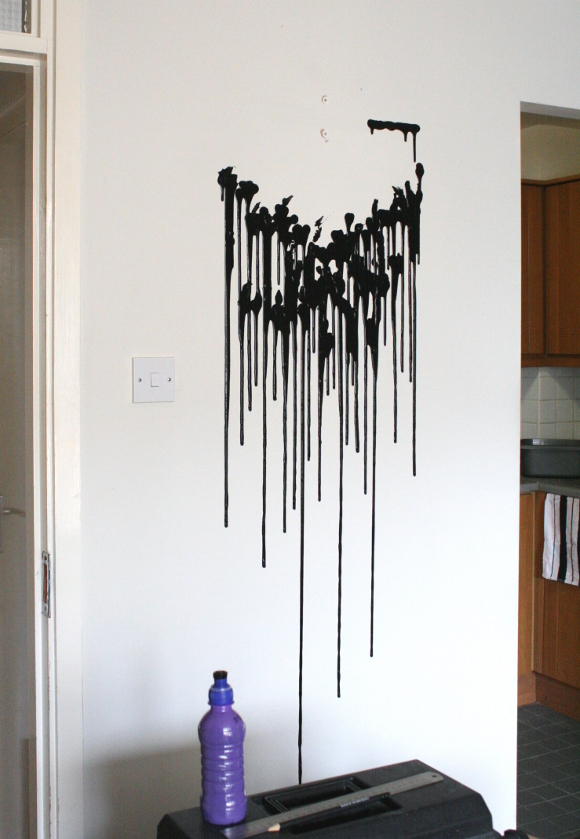
The most important item you’ll need [other than paint] is a bottle with a resealable nozzle lid, like the one above. You could use an empty washing-up liquid bottle, sports drink, water bottle or kids drink, as I did here. The reason the nozzle is so important is because it allows you to get right up to the wall to squish out the paint without spilling paint everywhere, and it also gives you control over the speed in which the paint is applied. It doesn’t seem like rocket science, but this technique took a lot of brain storming back when I made the multi-coloured wall

I used black guache paint for our wall. I originally was thinking of using one of my favourite red berry hues, but then I was all like, “hold up. You can’t do that. You can’t have red paint dripping down the wall. It’s going to look like the walls are bleeding. No one will ever want to visit your apartment or trust you with sharp objects ever again.” So I decided to skip my signature colour for this project. 

And here’s how to do it – first you’re going to need to decide where you want your drips to start. I wanted the drips to start appearing half way down the wall / behind the body of the hanging guitar. Holding the bottle carefully, start glooping the paint in spots on the wall. This is very much less is more until you get a feel for how runny the paint is. Remember – you can always add more paint; it’s not so easy to take it back.

TIP: do some practice drips higher on your wall first, like you’ll see I did below. It’ll get covered in paint, so you won’t see it. 

When you’re happy with the amount of drips you have, your wall will more than likely look like the below; a bit ghetto. This is okay. Take a paint brush, and using the excess gloops of paint on the wall, start painting in a panel above the drips to collect it to the ceiling. I ended up adding a few more drips along the sides closer to the ceiling to make it look more random.

Your drips are going to look rank until they dry. You just have to accept this. But trust me, they’ll dry perfectly. It took around 18-20 hours for the paint to completely dry. 

I was quite happy with how it turned out, but I wanted to see husbands reaction [who, for the record, had no notion of my drippy plan]. He came home from work, walked around the living room a bit telling me about his day and all of a sudden he WOAH-ed when he saw it and sang its praise. He’s mentioned a good few times about how much he likes it since, so mission accomplished I’d say. 
Oh, and for anyone curious about removing it, I don’t see it being any more difficult than painting over a chalkboard wall; sand it in places then 3 coats of paint should do the trick.

But more importantly, if you can see past the fact that I did our drip wall in black, I can easily see a drip feature being done in a buttercup yellow or dainty pink for a kids room, or a strong navy blue for a quirky impact in a bathroom. And may I suggest adding ‘redrum’ to your doors if you’re going to go down the red route. 
Happy dripping! 

New dainty pink living room rug!

I’ve had a bumpy relationship with rugs in recent years. Well, really just one rug in particular. We bought an IKEA Stockholm rug 2 years ago and I thought my life was complete. It was luscious black and white stripes and I hearted it big time. 

But then life happened and that rug went completely to shit, so I repaired it, sold it last November, and had been on the lookout for a second hand low pile rug since [check out this post as to why I went with low pile. You especially should read it if you have kitties]. 

Months passed. I found a couple of rugs on Adverts.ie but for one reason or another the sales fell through or the sellers ended up being awkward and I didn’t want nothing to do with their rugs. 

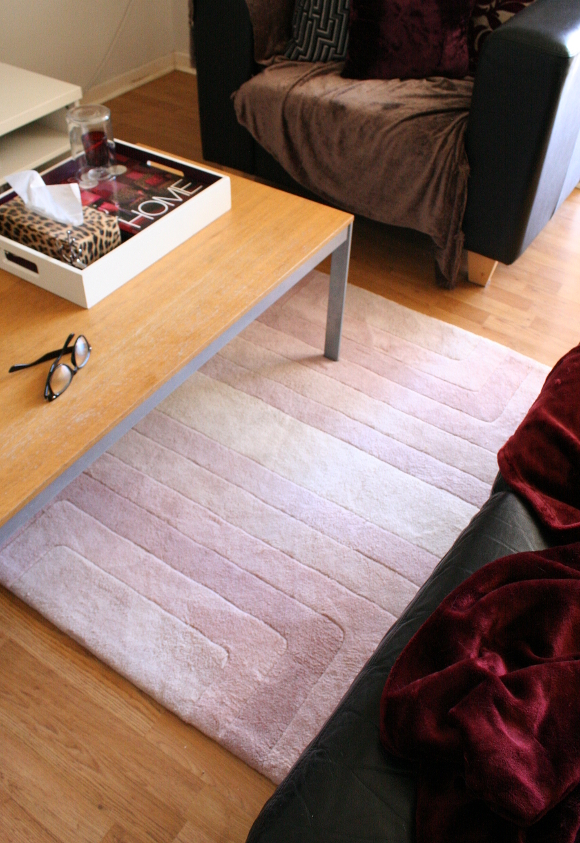
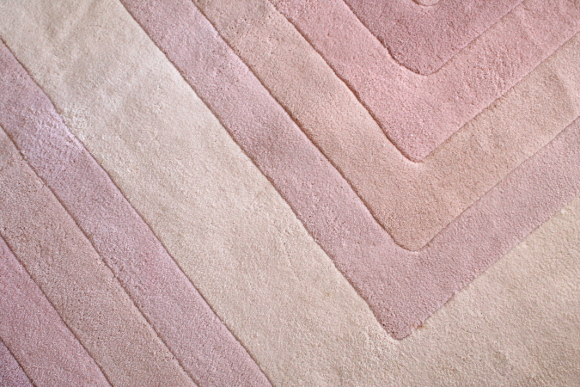
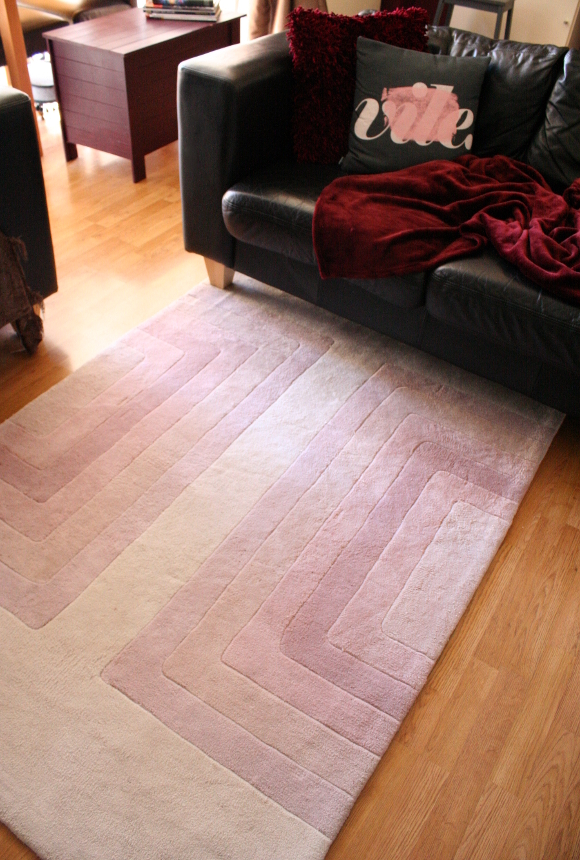
I was patient. I wanted the right rug and I waited. Perched on my laptop, looking for scraps. Then one day I found this beautiful, geometric, dainty, dusty pink rug, and I found it 19 pages deep on Adverts. And it was priced at 15 euro. 
FIF. TEEN. EURO.

Yes, it needed a serious clean, but I saw its Christine Dovey fangirl potential. I arranged to meet the seller on O’Connell Street at 20:00 that night. It was pouring rain and I was frozen, but I lugged that baby home, invested in some heavy duty carpet cleaner [I typically buy eco friendly everything, but I set my beliefs aside to go chemical warfare on a rug. We’re going to have our feet / cats directly on it afterall], cleaned that baby and laid it down good with a fine wine in front of the TV. 

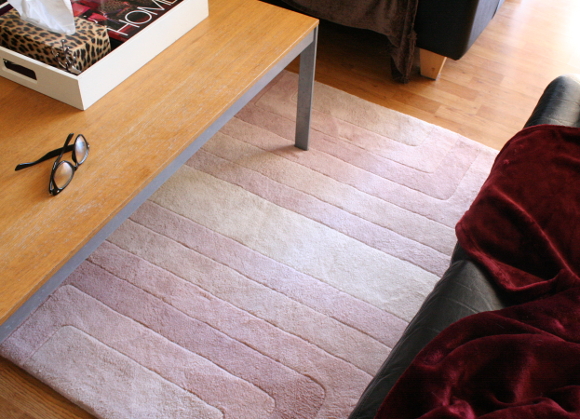
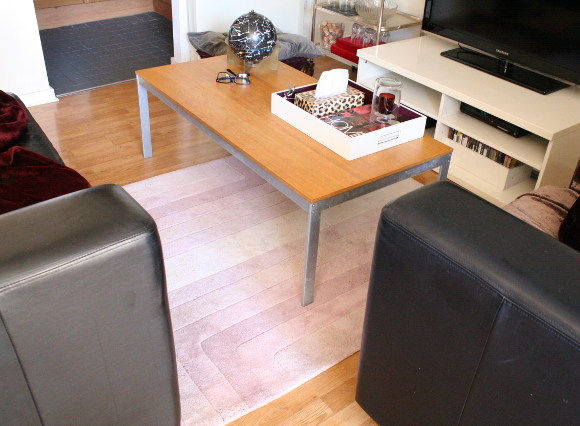
I count myself very lucky that I spied this rug and was able to get my hands on it. It’s not technically the correct shape or size for our room, but I am partial to a bit of asymmetry and as we’re not in the position to make an investment in a larger rug at the moment, it fits the bill.

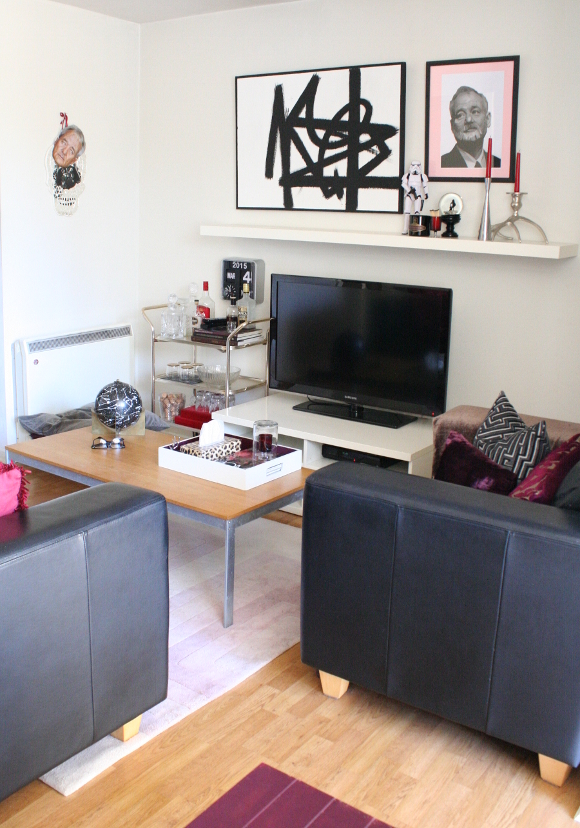
It doesn’t have any labels on it, so I have no idea what brand – if any – it is from. All I know is it’s pink, fabulously fabulous and ties in wonderfully with our Bill above the TV. 

“That rug really tied the room together, did it not?”

 – Walter Sobchak 

I couldn’t have said it better myself, Walter. 

New living room artwork – waxing moon

For husband’s birthday 2 years ago I drew the moon on our chalkboard wall to complete his space and Star Wars themed birthday. I painted over that moon 2 months later when I painted over the chalkboard wall. At the time I swore to husband I’d paint him another more permanent moon, as he loved the chalked one. 

And then 2 years happened. Because I’m a disaster and terrible wife. 

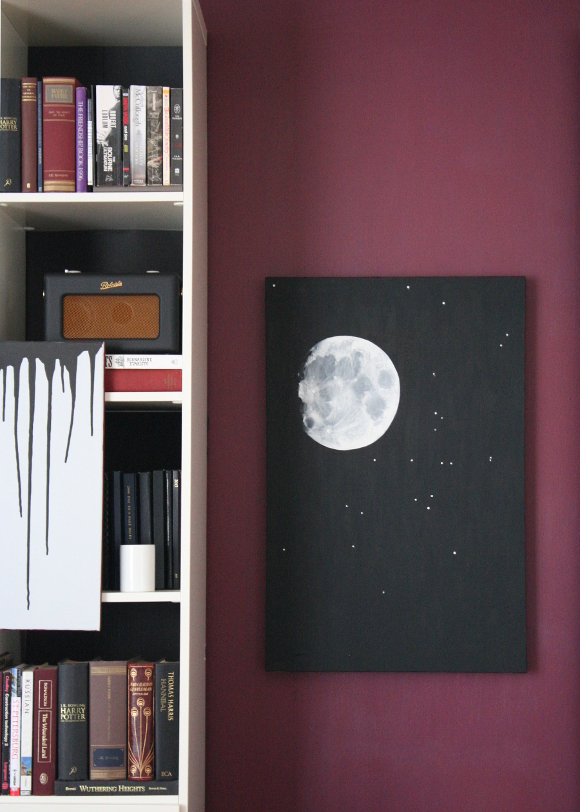
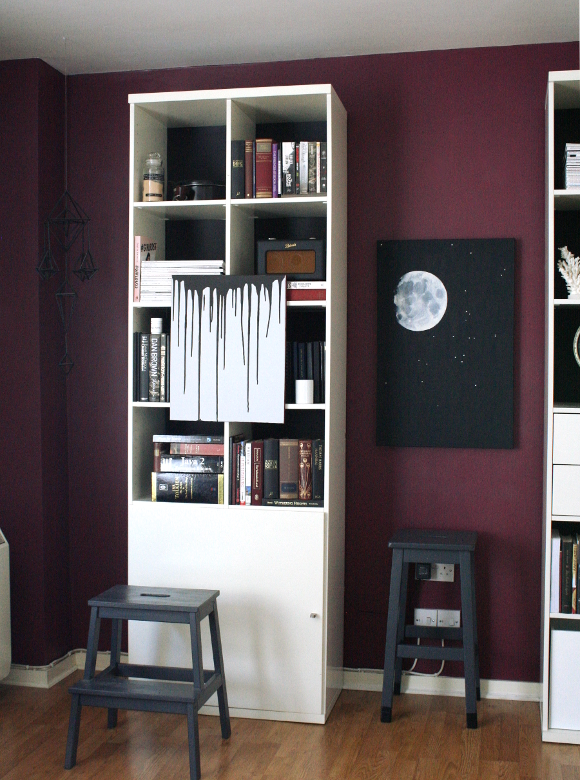
I was going through some old blog posts this week and was reminded I still had yet to fulfill my moon painting promise. I figured there was no better time than the present. I had an old canvas that I painted a black-on-black tree about a hundred years ago when I was an emotional teen [which you can see here], and it had been passed from room to room these past years waiting to be painted something proper. Well, half proper. It’s still mostly black. 

It had been something like 7 years since I had last painted, so I have to say it was so relaxing setting aside some time to painting again. 
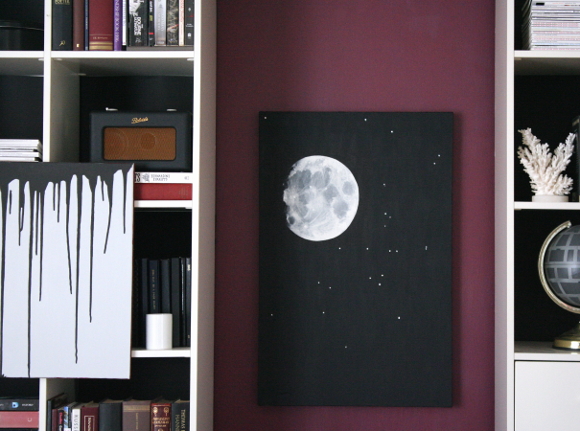
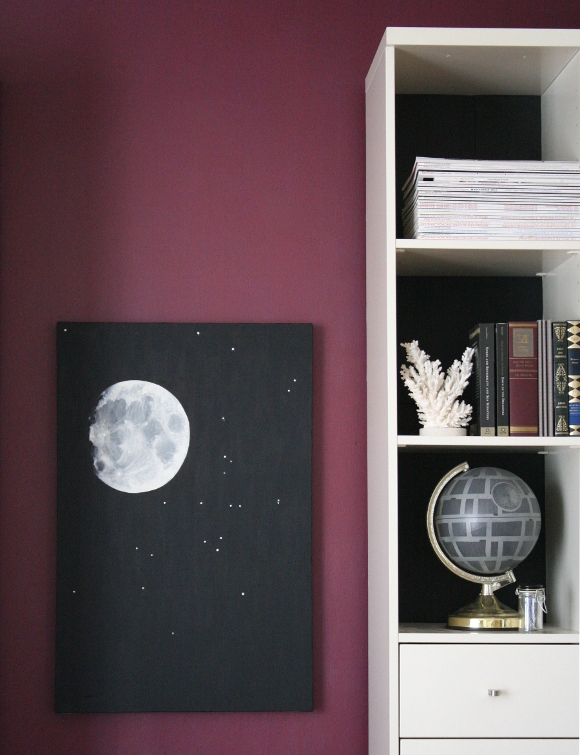
I used a small plate to trace 3/4 of a circle onto the plain black canvas [sans emo tree], and then I attempted to mimic this waxing gibbous photo of the moon as best as I could. It took me about 2 hours from start to finish. 

I wrote a little here a couple of months ago about my alter-ego career. If I were to start over again and choose a different field of work, I would have loved to have gotten a B.Sc. in Physics with Astronomy. Yes, it seems somewhat random, but I’ve always been fascinated with all things space. Case in point – when I was little, to get myself to go to sleep I’d try and think of how far away the edge of space was and what it looked like. I also used to try and think of a colour no one had ever seen before and as you can imagine, that was an utter failure. But it did nicely segue to some pretty interesting dreams and an overactive imagination. 

Which is why, if you look really hard, there’s a lot of space-themed pieces and books dotted around our apartment. Husband actually hasn’t seen the new painting yet, so hopefully when he comes home tonight he, a) actually notices it so my ego doesn’t take a hit, and b) likes it. 

And above, you can see how well the sockets and heater switches under the stool nicely compliment the waxing moon. I find they really add a certain je ne sais quoi to the space, no?

Happy Friday, friends. Hope you have a good one xx