To paint or not to paint?

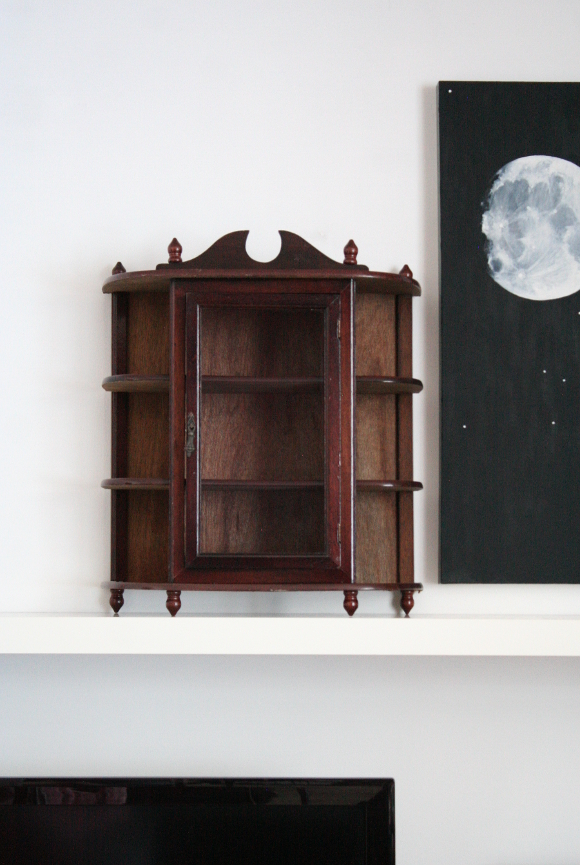
For my birthday earlier this week I was gifted this little gem of a curio cabinet from my parents. It’s an adorable piece with lovely details. It has a faux mahogany finish on the shelves but as you may or may not be able to tell, the back panel hasn’t been finished to the same standard and the shelves are chipped here and there. But my question – do I paint it or leave it as it is? To my surprise, my parents immediately suggested “it would look lovely painted black!“. I was surprised by their suggestion considering they’re forever trying to steer me away from black to, well, practically any other colour in existence. So when they suggested I paint it black I was pleasantly surprised. 
What pretell will I be filling said cabinet with? I mentioned a little while ago making the move to becoming a Level Nine Crazy Cat Lady by having a collection of Sylvanian Families kitties. As it happens, I got not one, but TWO SYLVANIAN KITTY FAMILIES for my birthday and I was so excited that I cried [they’re just so cute and I get emotional over cute stuff. Please don’t judge me]. I can’t wait to fill my cabinet with them. And for all our future visitors think I’m insane. 

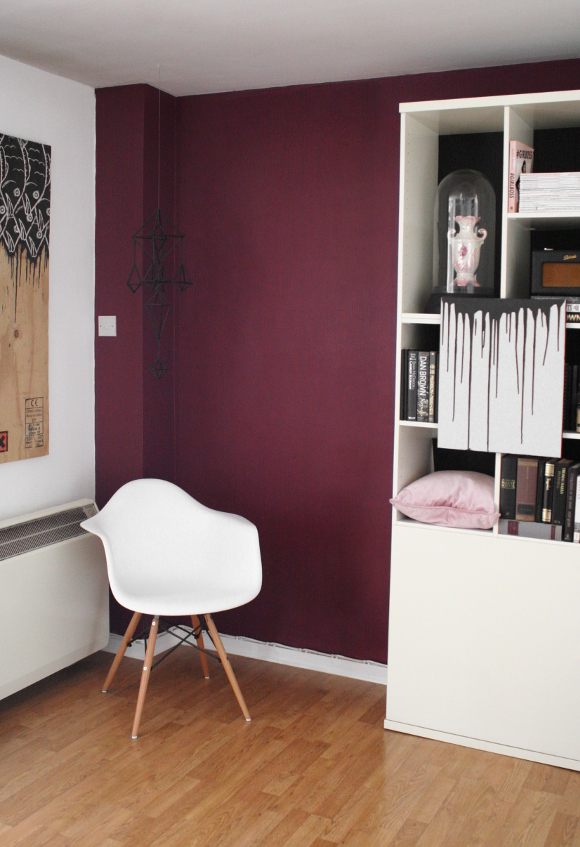
So what do you think? To paint or not to paint? We’re expecting a lot of rain this weekend [yay] so a little painting project could justify being indoors all weekend. Now I can’t stop thinking of its gothic potential! 

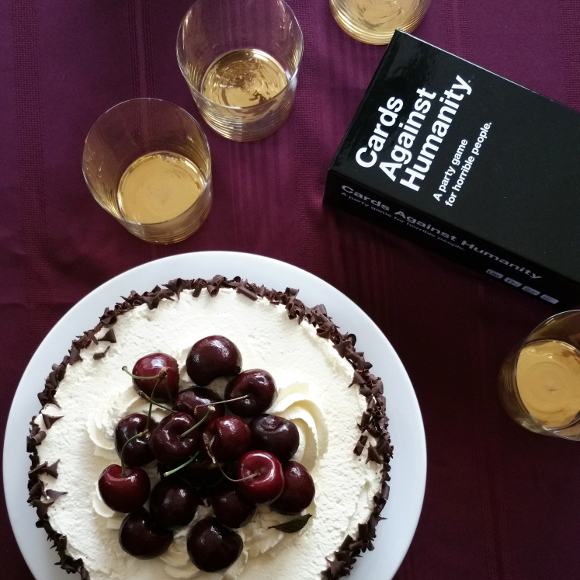
As for my birthday; Robert surprised me with a stay at Powerscourt Hotel for the last night of my 20’s [seriously fancy], then on my birthday we ate black forest gateau, played Cards Against Humanity [thank you again, Kimberly!], drank way too much sangria and spent the day in inappropriate levels of hysterics. It was amazing. 

Also featured – waxing moon painting – gold tumblers – #DirtyThirty

Living room shelf shuffle

I have a thing for asymmetry. Perfect symmetry can be good, but 9 times out of 10 I find it to be a little boring. I just like things a little off. Maybe it’s because it’s less predictable, maybe it’s because it makes you take a second look, but I just prefer asymmetry. Case in point – have you seen my fringe? 

To give you a rough idea, here’s what the ‘burgundy end’ of our living room looked like before … 

… this picture was taken a couple of months ago before I updated our shelves to look a bit schnazzier. You may ask yourself why the shelves are placed here? And that far apart? Because a long time ago, there used to be another set of shelves in the middle [as seen here]. And the reason they stayed there is because, well, our landlord put them there. Classic amateur renter move. 

This weekend the weather was horrific and we were stuck indoors, so I decided to mix things up a bit. I took everything off the shelves [they hella heavy otherwise] and scooched the left shelf closer to the right. I didn’t place them right next to each other. That looked a little too obvious that they weren’t all one unit, so I left some sought after thigh gap between the two shelves …

It’s a small change when I look at it here on my screen, but the feel of the room is definitely one of slightly more sophistication. I’ve paired things down a bit and gotten rid of some of the extra clutter too. 

I’ve found that making little changes like this are immensely helpful, especially as a renter. We’re very limited with what we can do to our apartment, but changing things up like this has made me less stir crazy about having a rental. These are simple things that can be undone over the course of an afternoon for when we eventually move out.

I think it’s an Irish thing though – not disturbing things for fear of causing a fuss. Well, fuss that. I’ma do what I want [she says, after not doing anything the past 6 years she’s been living here]. xx

p.s. That lovely ‘scalloped’ finish along the skirting board is not down to shoddy painting skills on my behalf. That is thanks to a double wire lead from the storage heater to its socket located in the middle of the next wall. It would make too much sense to have it, you know, right next to the heater. I’d love to know what that builder was thinking. 

Operation de-uglifying our storage heaters

When I look back at all the work I’ve done to bring our rental apartment to where it is, I’m pretty proud of myself. Repainting the entire apartment. Updating the kitchen and bathroom. Sanding, prepping and repainting all the yellowed doors and skirting boards throughout our apartment was a tall task, but worth it. Even though we’re only renters and don’t own our apartment, I take pride in knowing our landlord is over the moon that we’ll be leaving our apartment in better condition than we found it. I like a good project, no matter how remedial and non-glamorous it is. 

Now that all the skirting boards and doors are no longer yellow, the only remaining major eyesores were the heaters. And boy, were they eyesores …

With the most epic of timing, Rust-Oleum got in contact with me and asked if there was a product of theirs I’d like to try out. I did a quick search on their site and when I saw their radiator enamel spray paint, I knew I had to try it. 

The most noticeably yellowed heaters in our apartment are the two in our living room and one in the hallway. There are two more [one in each bedroom], but they’re nowhere as obvious. Once my Rust-Oleum paint arrived I got to work. I asked Dad DIYer to help with dismantling one of the storage heaters with me so I could see how easy it would be to dismantle the rest of them on my own. Storage heaters are full of bricks and I as I explained in my upcycled vacuum cord pendant post, anything electrical make me all kinds of nervous. I felt a lot better knowing my dad was helping out. 

NOTE: please read all manuals that come with your heater / radiator before disassembling them and disconnect the mains where necessary. But you guys knew that.

We dismantled both the front and top panel on the storage heater for spray painting. Ideally, I was hoping to disassemble the entire heater to spray paint it elsewhere, but we were stopped in our tracks when we discovered the heater was on brackets that were bolted under the floor boards [which you can better see in the last picture]. So I was going to need to paint the side panels indoors. 

Before long the heater looked like a Mr. Bean special. As advised by Dad DIYer, I taped a giant plastic bag around the exposed side panel [not pictured] and spray painted within the bag so the overspray didn’t get everywhere. I then took the remaining panels outside and gave them 2 coats of  Rust-Oleum’s white radiator enamel paint, let them dry and reassembled the heater again. 
TIP: cover any text or instructions on your heater with masking tape before you spray paint. Because remember, you won’t be the only one using them now or in the future.

Since it took a bit of planning to paint the one heater, it’s the only heater I’ve repainted so far. But I am very much looking forward to our heater[s] doing what they’re supposed to – disappear into the background, not be a focal point and keep us warm. I for one am so happy with the result. No more fugly radiators! I know, I’m easily amused.

Thank you again, Rust-Oleum! 

Disclosure – Rust-Oleum generously supplied radiator spray enamel free of charge to help in my never ending quest to update our rental. As always, all words and opinions are my own. I only work with companies I like and of course, think that you will too. Thank you for supporting the companies that support The Interior DIYer.