Moon phase clock from ClimeMET

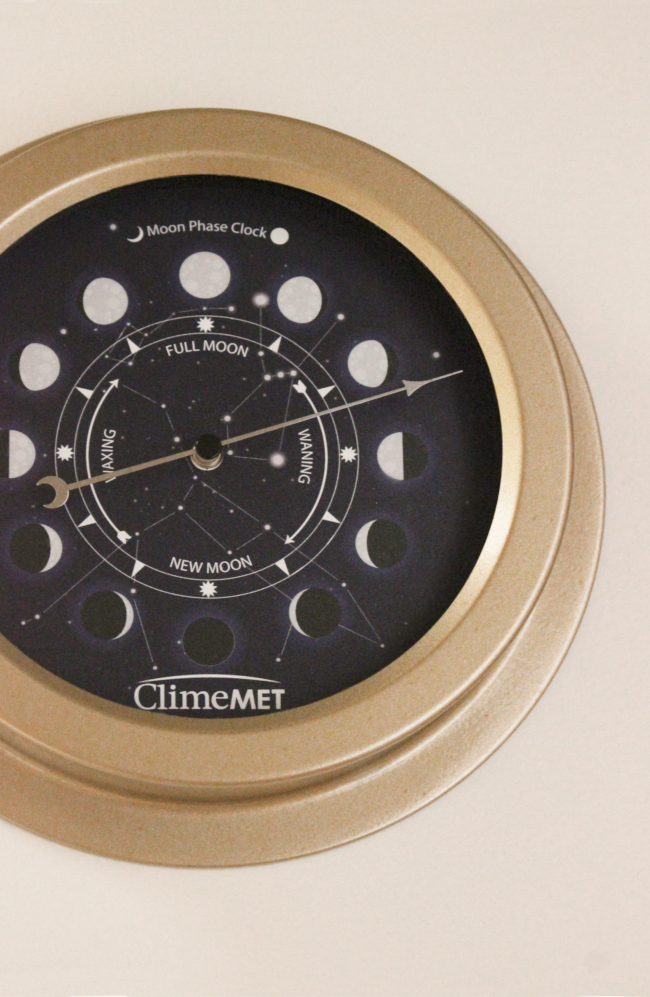
For some time I had been searching for something that displays the current phase of the moon. It’s something I’ve always been interested in and just Googling the moon phases was pretty un-romantic, so I decided to see if there even was such thing as a moon phase tracker. I didn’t even know what terms to use when I first started searching. ‘Moon clock‘ just gave me results for clocks with moon faces, which wasn’t at all what I was looking for.

I changed my search terms a few times and that’s when I found the Constellations Moon Phase Clock by ClimeMET. It was perfect. It had a dark, night-sky face and just like a regular clock, indicated what time it was [out of a 29.5 day cycle]. The moon phase clock was one of ClimeMET’s only clocks that didn’t have a gold / brass finish option, but I was not at all deterred so when it arrived, I carefully taped over the glass face and gave the frame three coats of gold spray paint. It turned out pretty perfect.
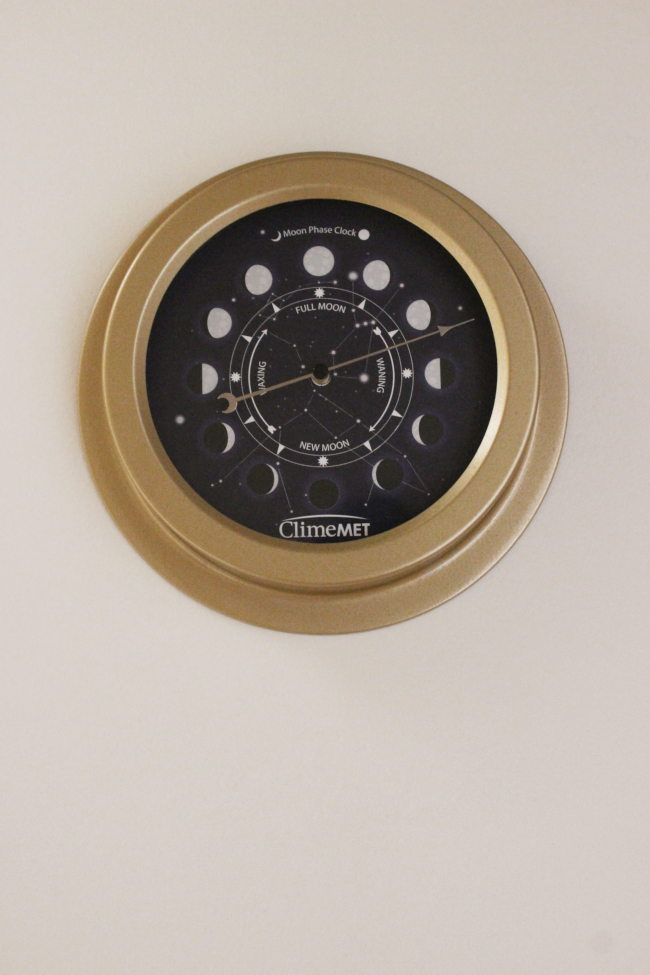
I’m so happy with our moon phase clock. It’s exactly what I was looking for, is completely silent [n case anyone still has nightmares from noisy clocks] and very accurate. I would adore to put aside more of my side-hustle income and look at buying their Traditional Forecaster Dial because Canadian weather is a real struggle. Not only that, but hello, it has a solid wood surround and brass plated details. Beautiful.

This is in no way a sponsored post. I just really, really like astronomical gadgets.

Lower Town Dollhouse’s … Dollhouse

The niche-ness of this blog post is almost too much. Also, I will shortly be changing the name of my blog to The Interior Dollhouse-er because I have a newfound tiny obsession that you may or may not have noticed.

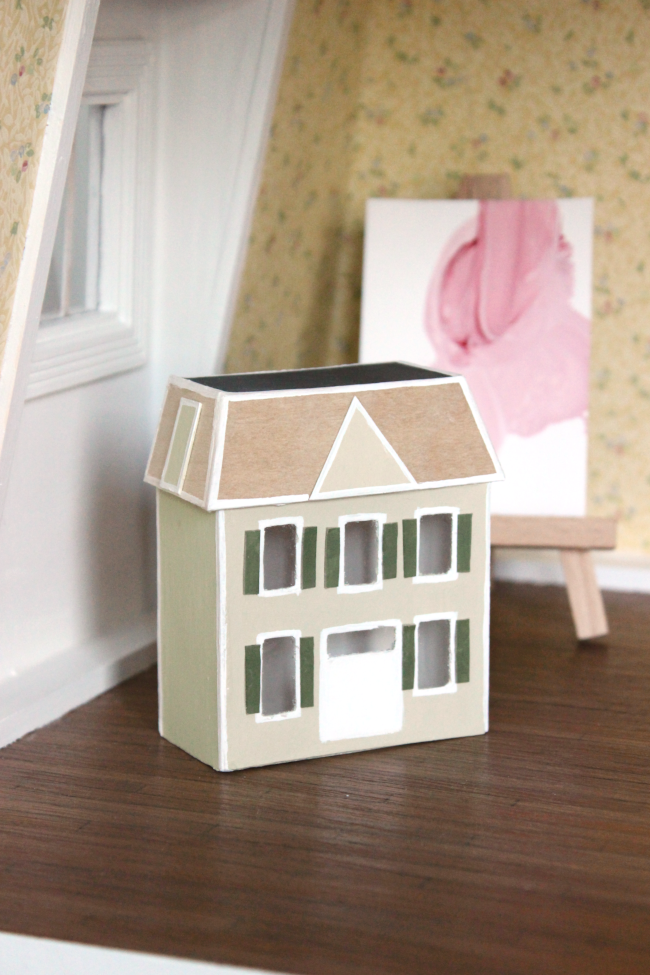
Last weekend there were two special weather advisory’s here in Ottawa; one was for frigid temperatures [-35°C and below] and the other was a snow storm warning so we spent the entire weekend indoors. Did I do anything productive? No. Did I Marie-Kondo our kitchen? Or paint the hallway? Or make batches of dinners for the week ahead? No. I made a miniature dollhouse for Cora’s Lower Town Dollhouse.

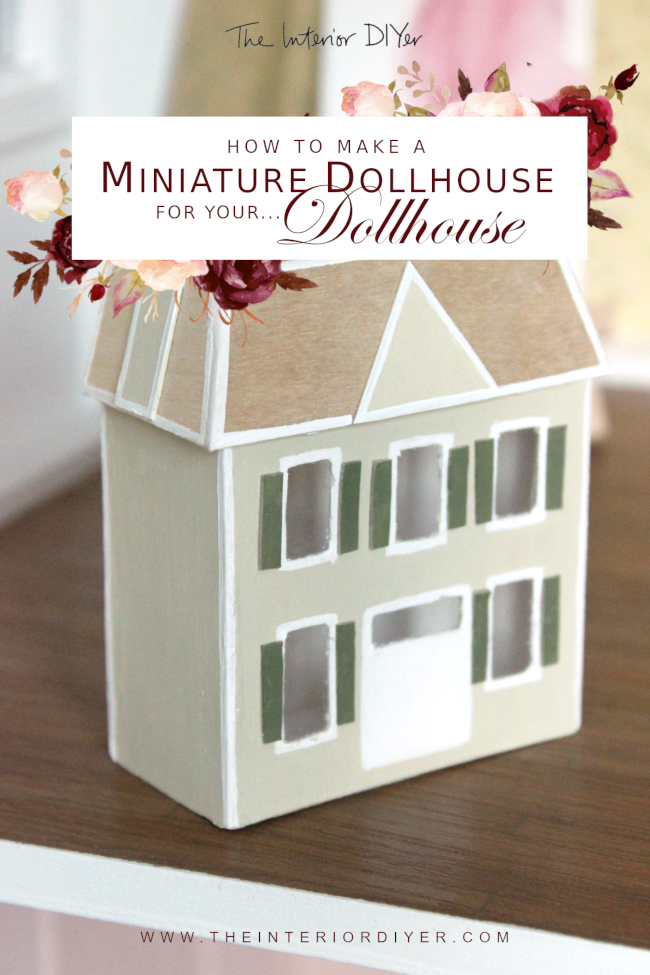
So this week I thought I’d share how to make a miniature dollhouse, or, a dollhouse’s dollhouse. Because I just know there are thousands of people out there feverishly Googling this very niche subject right now and I must ensure I reach them through most excellent Search Engine Optimization.

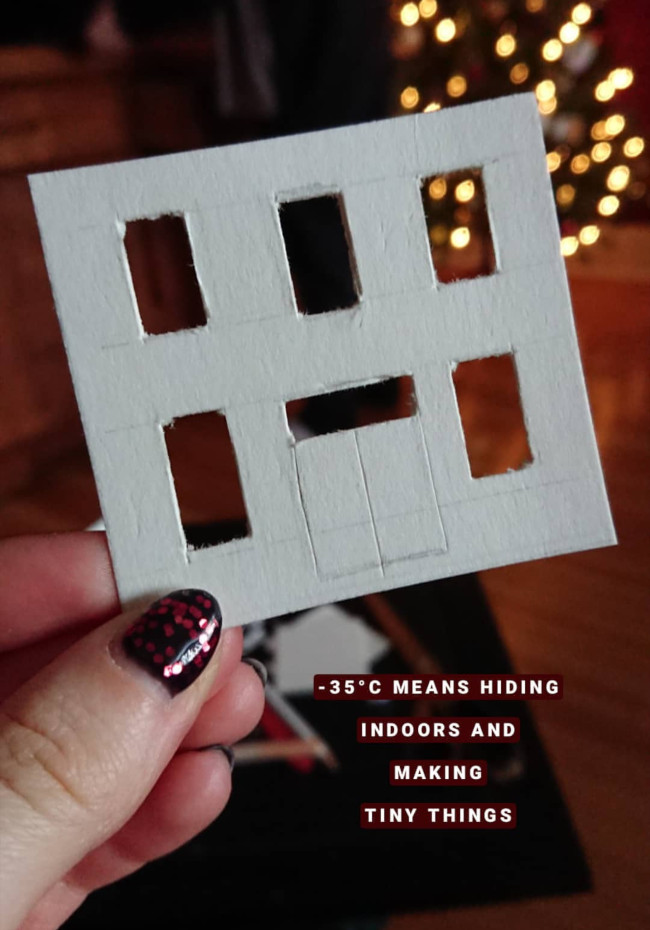
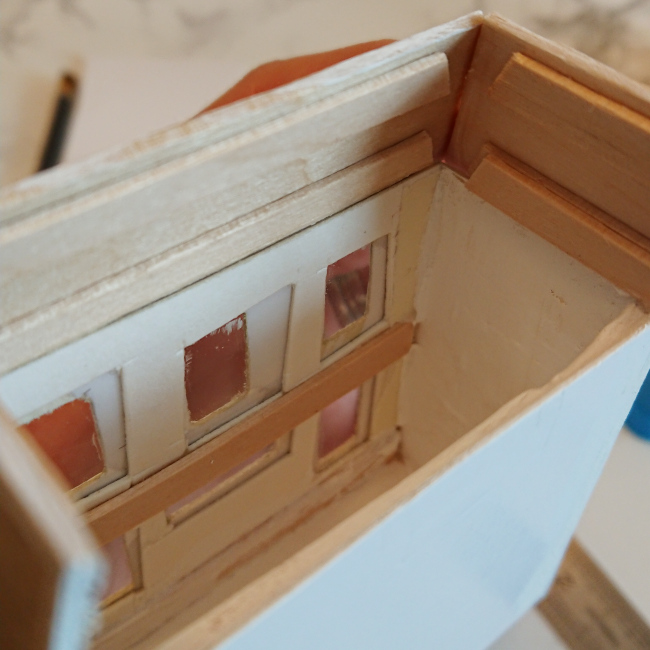
It was actually fairly straight forward making the body of the miniature dollhouse. For the facade, [try to keep a straight face while I use the term ‘facade’ to describe something 8cm tall], I sketched a rough outline of the windows and cut them with an exacto knife [as seen above]. I did the same with a second piece of cardboard [but a lot less accurately] as I was going to sandwich a piece of plastic between the two to securely create plastic windows that wouldn’t budge thanks to tiny toddler hands [you can see the roughly cut inner piece three photos down in the interior of the dollhouse].

For the rest of the body of the dollhouse, I used cardboard, masking tape and Gorilla Super Glue to create the other three sides [Super Glue because toddler].

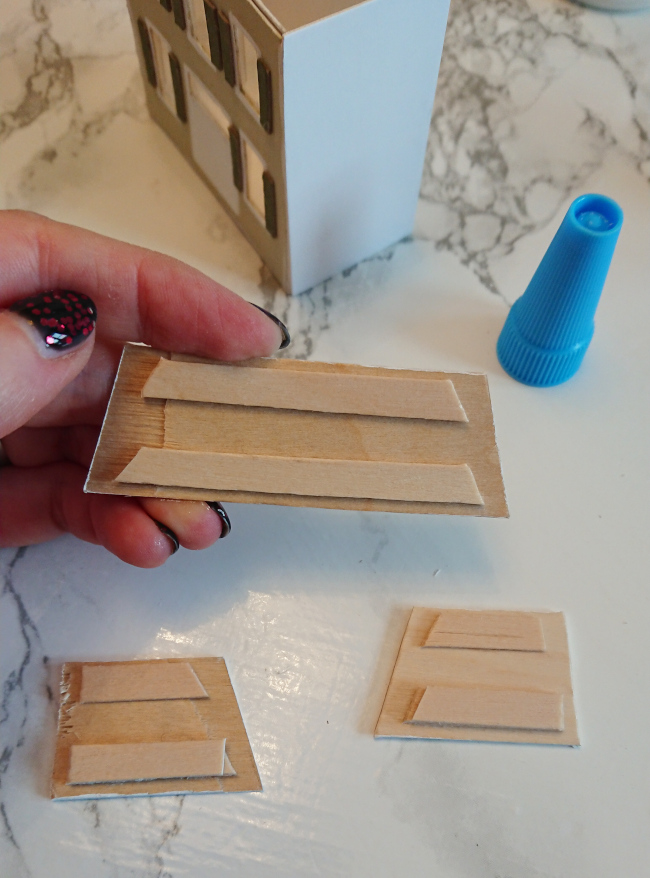
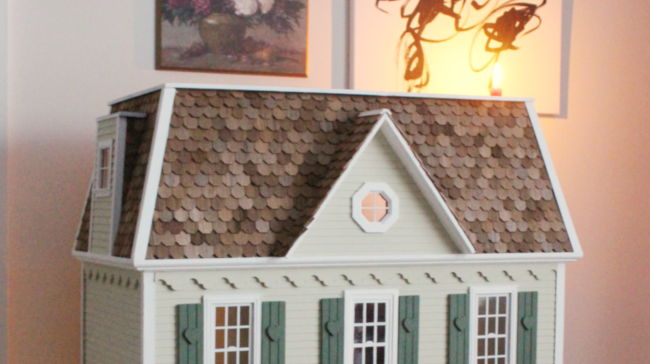
Then I tackled the tiny angled roof. I used wooden tongue depressors [you could easily just use cardboard] that I cut at an angle to mimic the angle of the larger dollhouse’s roof [below]. My next worry was how I was going to securely attach the roof to the dollhouse. It needed to be toddler-proof. So I Super-Glued what I’m going to call ‘brackets’ [I don’t know if that’s the right term?] using wooden coffee stirrers to the inside of the roof pieces [as seen above]. This way the roof ‘brackets’ would be able to rest on the top of the body of the miniature dollhouse. And by ‘rest’ I mean be glued to using vast amounts of Super Glue.

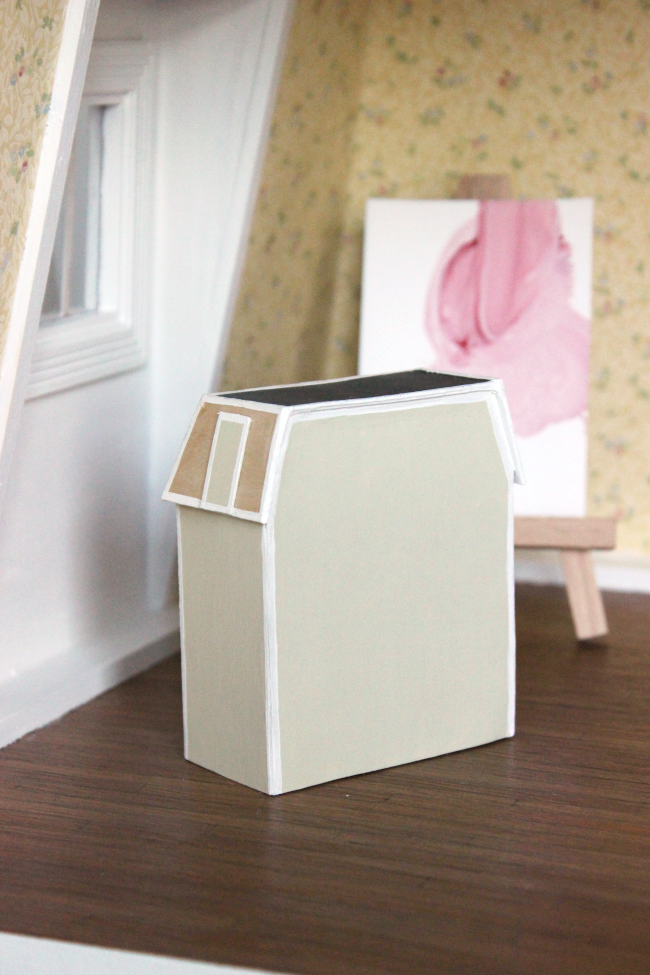
The above picture might help to make a bit more sense of my description. I added more brackets to the top of the inside of the roof to once again give the flat part of the roof something to sit on and adhere to. I painted the outside in a few coats of paint and even cut out tiny cardboard shutters which I Super-Glued into place.

This seems like a lot of detail for something so small and unimportant and is in no way contributing to current day society“, I hear you say. Yes, you could very well be right, but there really isn’t anything better than seeing Cora’s little face light up the moment she realized I was making a tiny version of her dollhouse. “OHHHHHHH! BABY DOLLHOUSE!”, she squealed. I could have better spent my time doing literally anything else all weekend, but that would have been far too productive.

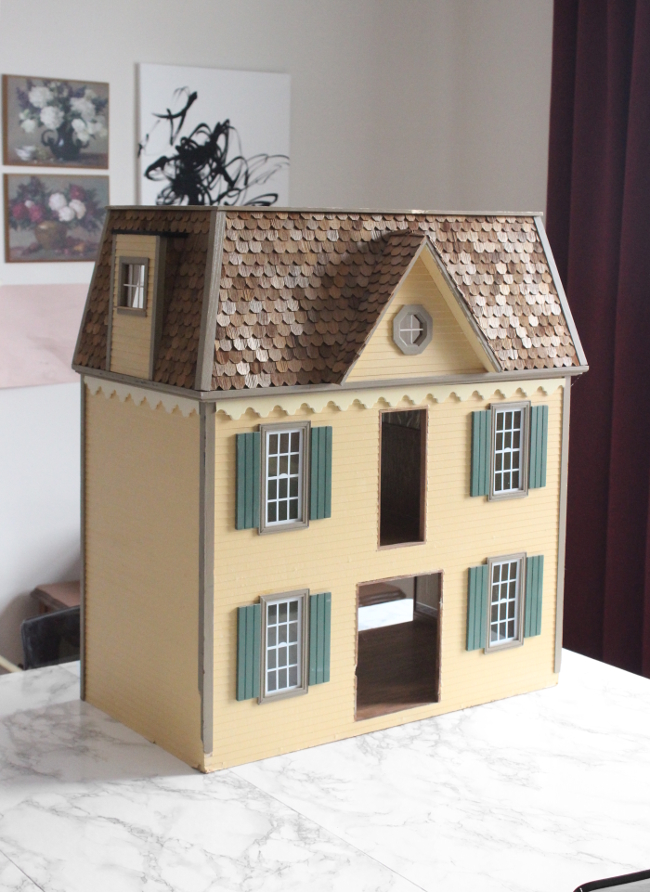
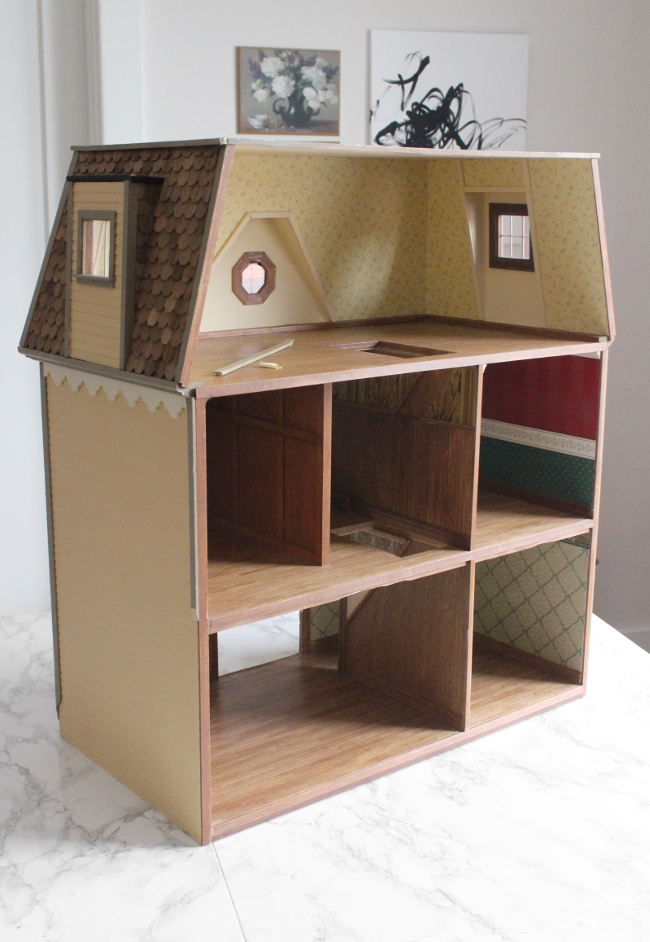
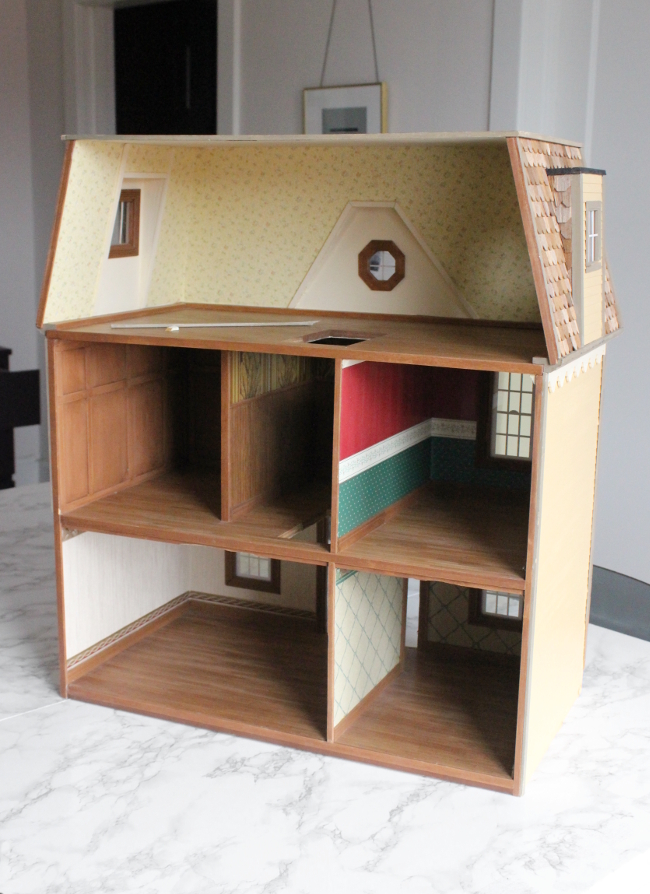
Secondhand Victorian-style dollhouse

I’m going to come clean straight away and say this is a project I’m working on as a gift for Cora this Christmas, but it’s also 9,000% entirely for me. I am living vicariously through Cora this Christmas. And beyond. 

I had been looking on Kijiji for a dollhouse for Cora for a few months. Probably casually looking for around six months, but more seriously searching for the last two to three months. I found amazing dollhouses every few weeks but they were either too expensive, located too far away or were the bad kind of homemade that were misshapen and home to jagged edges that no amount of sandpaper or filler could fix. This would after all be a present for our curious toddler so I wanted it to be a practical, special and more importantly a safe dollhouse. 

Kijiji did not disappoint. Kijiji is a gentle creature that rewards those with an abundance of patience. You have to look and look and look and inquire and have a deal fall through and keep looking and change your search words 20 times and then right when you’re about to give up, the most perfect thing will present itself. 

I suspect many peopled passed on this dollhouse because of its lack of a front door, a window and stairs. Ha, I say. HA! You’re going to have to do a lot worse than that to deter me. Before I heard back from the owner if it was still available or not, I was already researching how to make dollhouse doors and stairs and I am up for the challenge. 

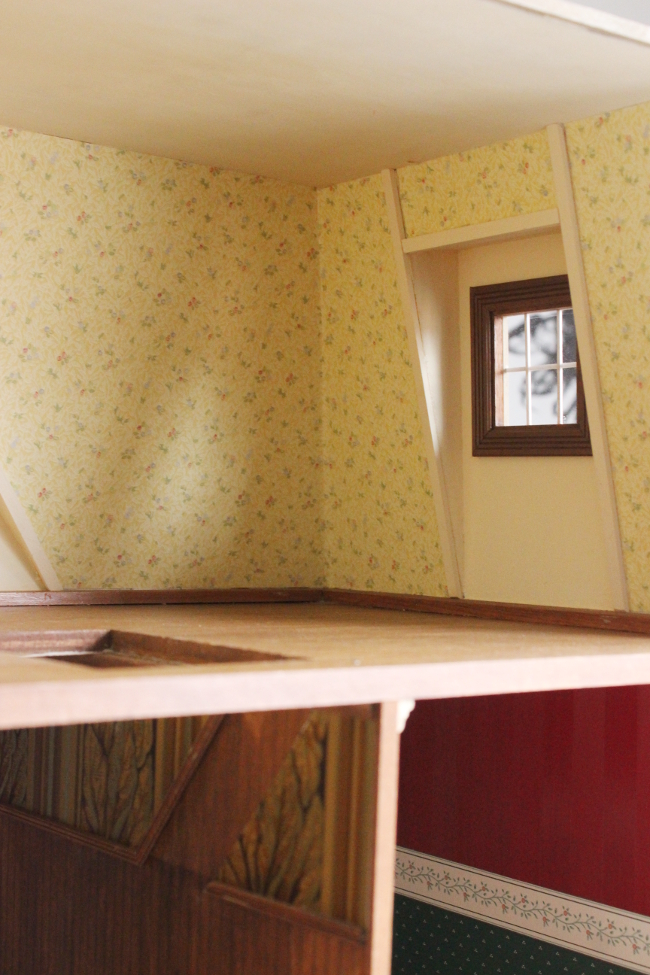
As Robert pointed out, the attic is very like the wallpaper in Adam and Barbara’s house in Beetlejuice. It’s really sweet and I might keep it for the time being. 

As for the rest, I will be changing. I’m already overwhelmed with redecorating ideas. It will mostly be for Cora’s current / my old Sylvanian Families [aka Calico Creatures in North America] collection, so it will be decorated to be sweet and adorable. I might try my hand at making some tiny wallpaper, and there will be bits of burgundy here and there, but I’ll try my best to not to impose a gothic look. I’m way too excited to start redecorating Cora’s dollhouse and I’ve even come up with a few moodboard ideas for it! I really can’t wait to start. I love a good project, especially on a scale I can handle for a few hours a night. 

But more importantly, want to know how much I paid for it?

Guess.

Go on.  

No. 

Lower.

Lower … 

$45.

p.s. Serious question – can I say I own a Victorian house now? Because I kind of do … 

Should you be interested, check out my post where I share my

Top Tips for Buying Secondhand Items Online