Cora’s Big Girl Bedroom™ makeover – moodboard and layout

I’m quite excited to share my moodboard and layout plans for Cora’s Big Girl Bedroom™ makeover. It took me about 6 months to get my head around a colour scheme, theme, and design for her room, not to mention working around the physical limitations that came with her dormer sloped ceiling [see what I mean in the before photo’s of Cora’s room here].

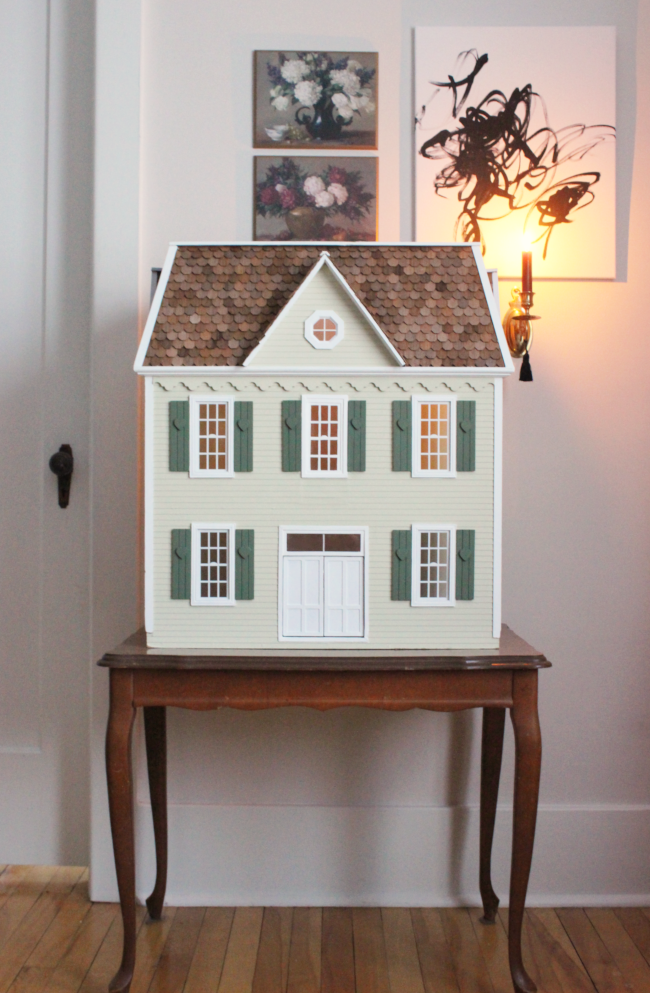
I took a huge amount of inspiration for Cora’s room from the dollhouse I updated and gave Cora for Christmas 2018. Mainly, the shade of green paint I used [pictured above] set the tone of her bedroom makeover.

I matched the green craft paint to the shade “Agaves Green” by Sico Paint via Rona hardware store [I feel I have to write hardware store as poor Rona has the misfortune of also being a slang term for the ongoing global pandemic. In case you needed clarification, I am not painting COVID-19 throughout Cora’s bedroom].

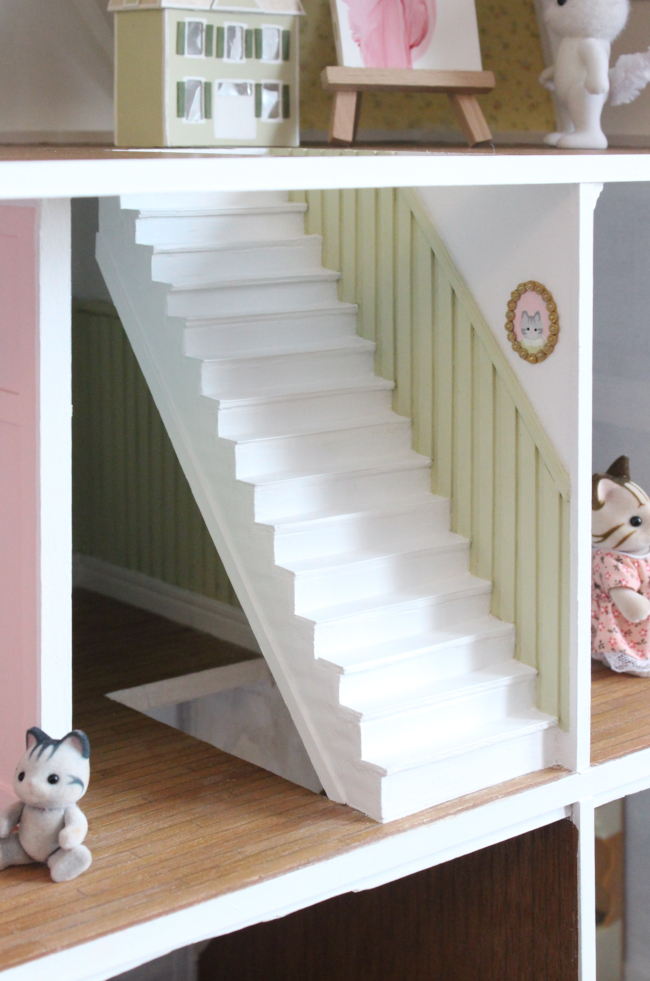
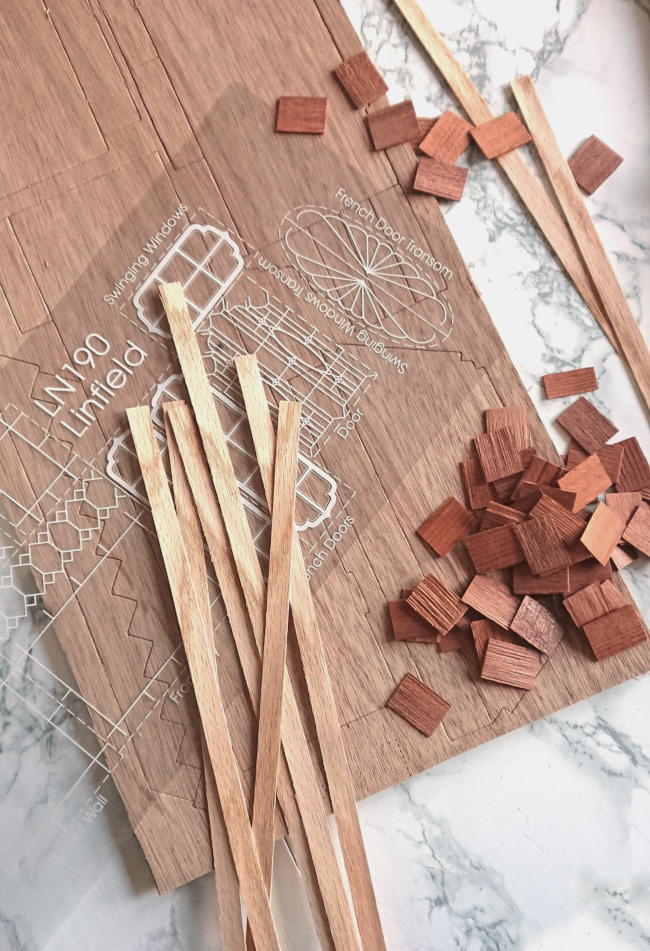
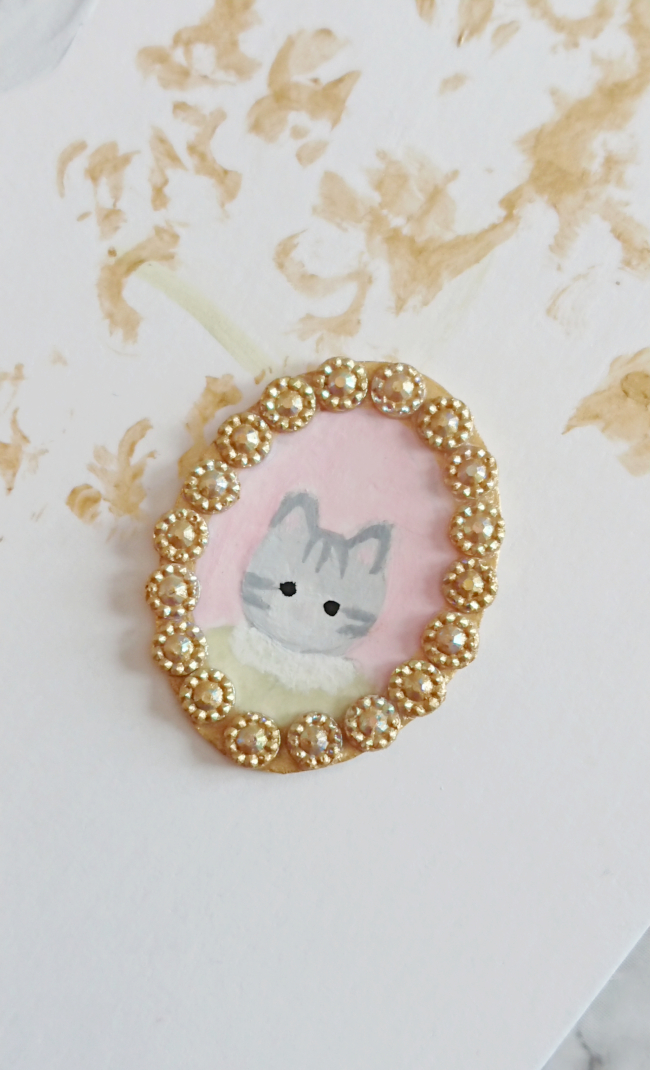
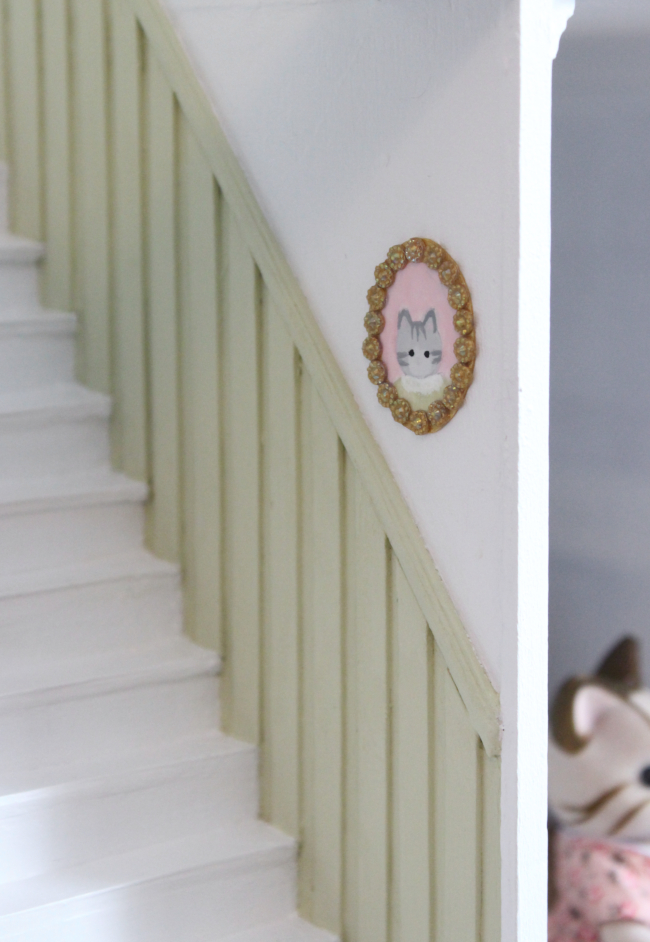
I decided early on that her room wouldn’t be entirely green, but half of it, similar to the little hallway I designed and coffee-stick-bead-boarded for Cora’s dollhouse [above].

Once I had the basic design figured out, it was time for the layout.

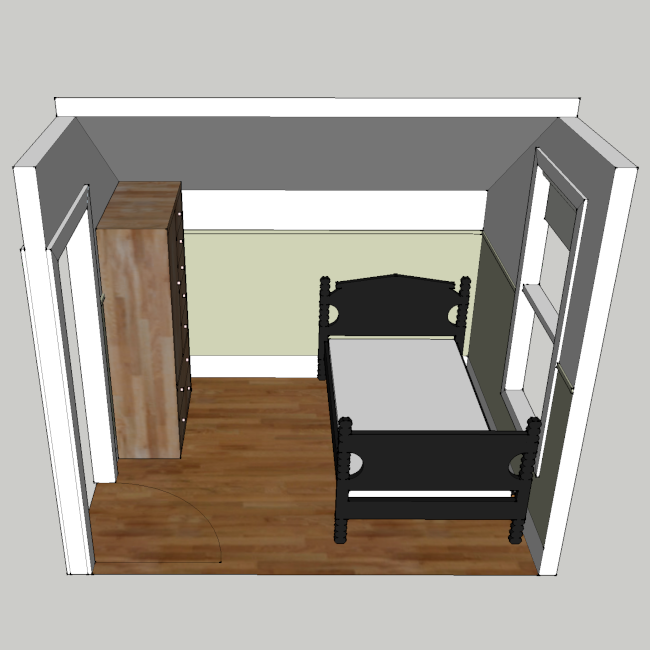
Cora’s bedroom is tiny. Like, hugely tiny. And it has the added obstacle of a dormered ceiling, plus no built-in storage, so I had to be creative [and cut-throat] with what furniture I added to her room. I measured her room and created a layout in Google SketchUp. Since there was little-to-no wiggle room when it came to space, I had to be certain the pieces of furniture fit and worked. Oh, and did I mention I sourced the furniture secondhand? If you’re new here, you may not know that I like to give myself a challenge.

So here is the basic layout I decided upon for Cora’s Big Girl Bedroom™ makeover, using an armoir and bed I sourced from Kijiji:

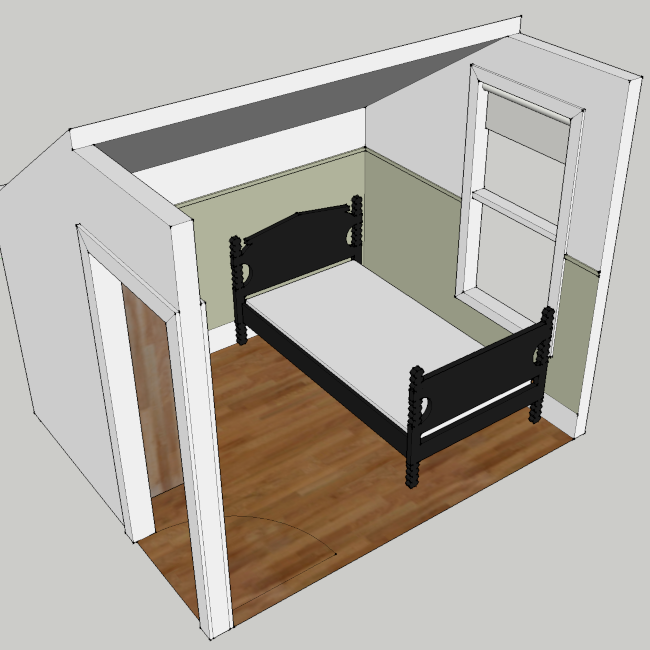
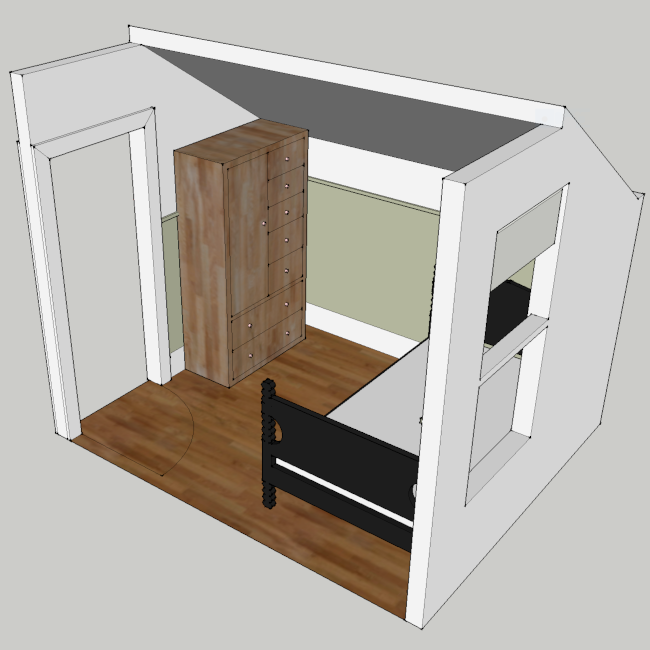
There was very limited options for furniture placement, so unless Cora was prepared to sleep in a bean bag or stand in the corner like a vampire, there was only the above layout option.

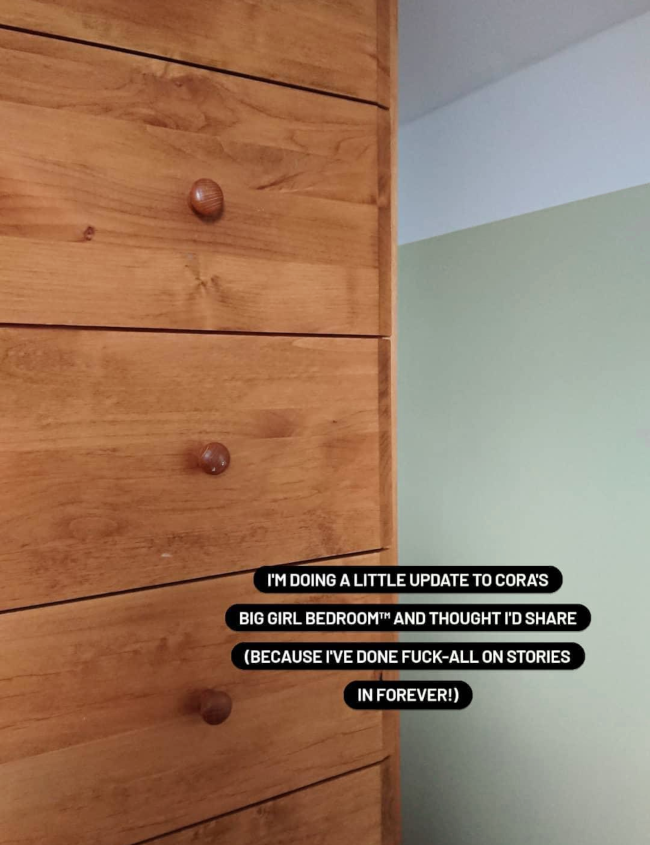
I also took a great amount of pleasure getting the perfect armoire for Cora’s room; I looked online for a few weeks and the armoires I found were either too wide, too deep, or too tall, which were immediately ruled out because of the dormered roof. I took my time and found the perfect armoire for $50. It fit perfectly, and I actually love the shade of wood it is, so I won’t be painting it. Just updating the hardware.

This actually won’t be Cora’s room long-term. Once Cora’s 5th birthday rolls around, baby will be 6 months old and it’ll be time for her to move into this room. Cora will be moving into our spare bedroom later this year, and just wait until you see what I have planned for that room. It will essentially be my dream childhood bedroom. No spoilers.

SOURCE LIST
– Walls “Agaves Green” by Sico Paint
– Isild female bird tray by ibride
– Needle felted pig by Felt Fauna by AC
– Bed and armoire sourced secondhand via Kijiji
– Bed painted in “Coal Black” from Fusion Mineral Paint
– Mushroom linen fitted sheet and pillowcase by Grannet Home
– Vintage porcelain pink knobs from Firstfinds

Lower Town Dollhouse – Part II*

I’m fairly certain the moment I brought Cora’s secondhand dollhouse home and started working on it [now referred to as her Lower Town Dollhouse], I went back online in search for MOAR DOLLHOUSES. Specifically, one for myself.

I set up email alerts for the words dollhouse and doll house on Kijiji in the hopes to find another one just like it, but without the commitment of having to check Kijiji every day [it happened a few times where I found incredible dollhouses for free, but I was a day late in finding the ad and replying to it].

Months went by and nothing. I should say, nothing that I was interested in. Every morning I would get an email full of large, hot pink, plastic dollhouses, which wasn’t what I was looking for. I happened to be talking with my Work Wife last Monday about it and she suggested checking this, how do you say, Facebook Marketplace? I used my dormant Facebook account that I use strictly for posting to my Interior DIYer Facebook page. I logged in, searched for ‘dollhouse’ and there it was. Immediately. A beautiful 90’s Linfield LN190 dollhouse still in its box, in perfect condition, never been assembled, just waiting to be bought.

It’s so perfectly what I’m looking for and is in keeping with Cora’s dollhouse design. It even has little windows that open and close [!!!] and, wait for it, it has it’s own doors. I don’t have to make my own! Though TBH, they were pretty fun to make.

I quickly messaged Robert. “You’re going to think I’m crazy, but I found another dollhouse, but this one is all for me … ” and his response was, “I still play video games. You should start with that as the justification.” I knew there was a reason I married that man.

We collected it the next evening after work and I can’t wait to start working on it. But I have it in my mind that in order for me to started assembling this dollhouse, I first have to complete updating Cora’s Lower Town Dollhouse, which includes making a second set of stairs from scratch and decorating 3 more rooms. This is just how my brain works. I realize it makes no sense, but I also feel like there’s an order to things.

AFTER MONTHS OF SEARCHING ONLINE, I FOUND THE MOST BEAUTIFUL 90’S SECONDHAND DOLLHOUSE AND IT’S ALL FOR ME. THAT’S RIGHT, I AM A FULLY GROWN ADULT THAT PAYS BILLS AND HAS A KID AND NOW I HAVE MY OWN DOLLHOUSE.

—Alex C. (@InteriorDIYer) May 14, 2019

*I need a new name / appropriate hashtag for my new dollhouse. Any and all suggestions welcome. Especially double-entendres and lyrical geniuses.

Lower Town Dollhouse – tiny artwork

Pretty much the moment I shared the stairs I made for our Lower Town Dollhouse last week, I received 20 messages in shrill voices wanting to know M O A R about the tiny little cat portrait seen at the bottom of the stairs.

I took a few photos while I was making it, so I figured it might be something 4 people might be interested in seeing so here it is!

It was really straight forward; I painted a tiny kitty portrait on some thin, white cardboard, then painted around the portrait using gold paint and cut out the tiny oval. I had some tiny random coloured jewels [that I bought from Dollarama to use on my nails sometimes] that I painted in the same gold and glued them into place.

Then I over-thought how I’d mount the tiny portrait to the wall; do I use a tiny nail? Do I braid some string and secure it to the back of the portrait? Or do I create a tiny picture rail to hang it from? But then I committed to the idea of gluing it in place. If Cora grows out tiny kitty portraits then I’ll just shiv it off the wall. One less thing to over-think!