This is one of those projects I’ve had on my brain for a long time. So long in fact, that I drafted a blog post for it on the 25th of September … 2011. I just never got around to actually doing it.
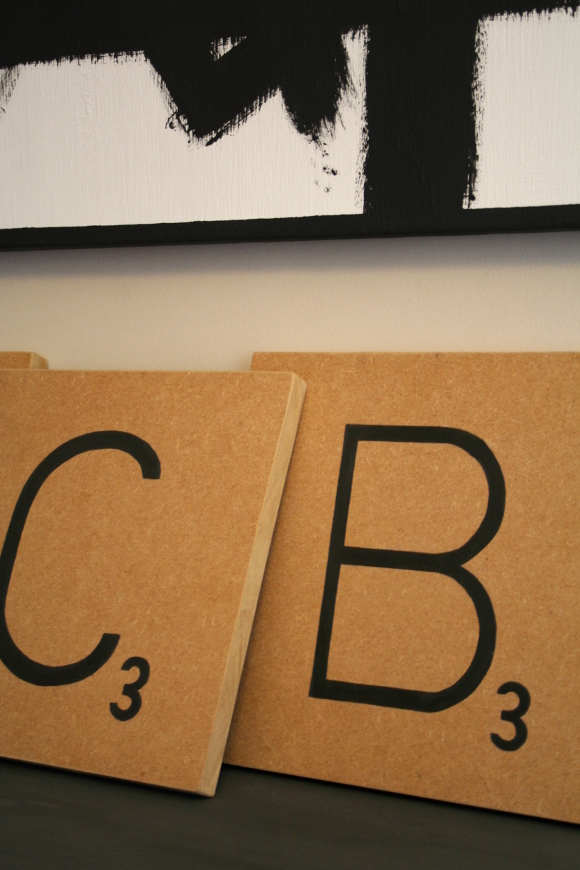
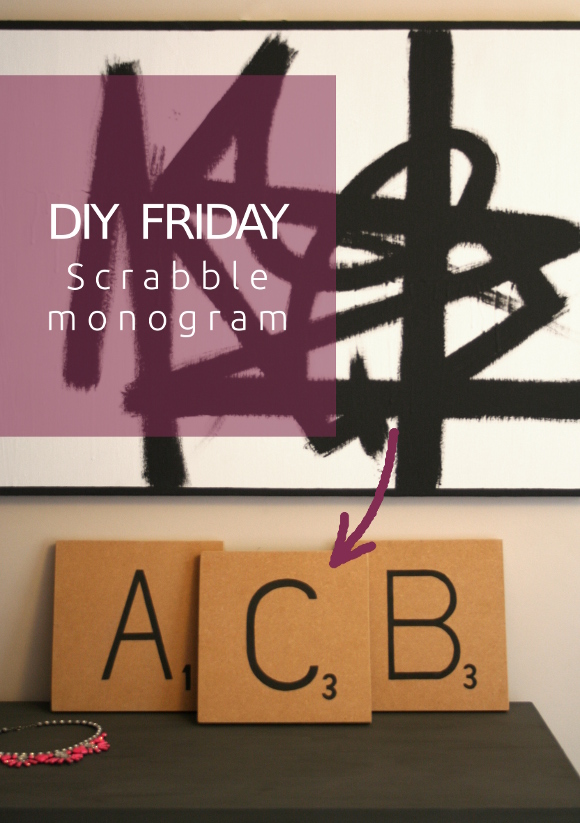
It all stemmed from personalized monograms. I originally was going to do giant cross stitches of our initials, but as you can see, I never did … It happens to the best of us, right? So, recently I realized I had the right project in mind, but maybe not in the right medium. And then it hit me one day like a baseball to the face – giant Scrabble tiles.
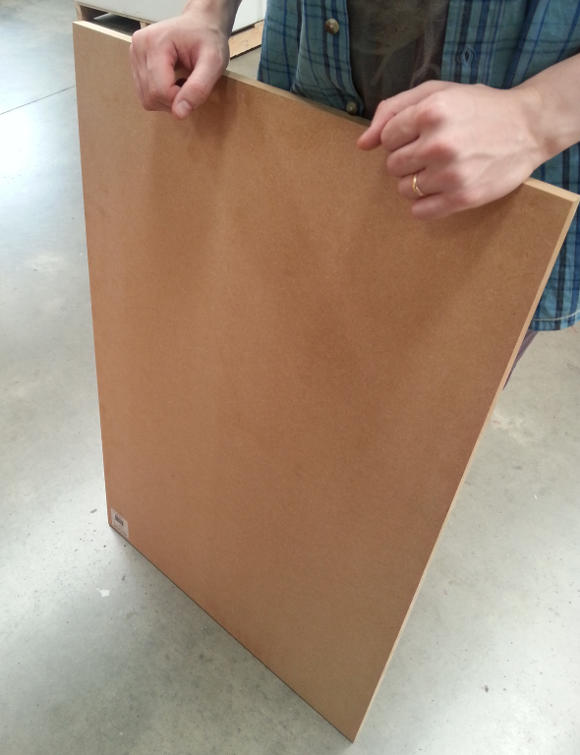
It was on like Donkey Kong. I was so excited to start. First, I was confronted with what wood to use. My dad {from this point forward shall be referred to as ‘The Expert‘} suggested using ash or beech. Which are beautiful woods, but as we found out, you can only buy them in 8 foot planks. Eh … No. We looked at cheaper cuts of wood, but I was put off by the chicken-fat-yellow hue to them. It was looking a bit bleak until there staring us straight in the face was MDF. It was perfect – a consistent, Scrabbly colour, didn’t have knots, I didn’t have to stain it and the price was perfect. €15 in Woodie’s DIY for all of this …
I decided on 25cm x 25cm sized Scrabble tiles. This is where I would love to take full credit, but cannot. Handyman father {aka, The Expert} stepped in. He measured and cut said massive piece of MDF to size and sanded down the edges {so I wouldn’t end up function-less and alone in an attic like Edward Scissorhands}. Then I got my hands on these pretties. Here are this weeks DIY Friday deets …
What you’ll need – MDF to whatever size you choose, a handyman or saw to cut said wood, graph paper, a pencil, ruler, marker, chalk, tape, eraser, black paint, and small paint brush.
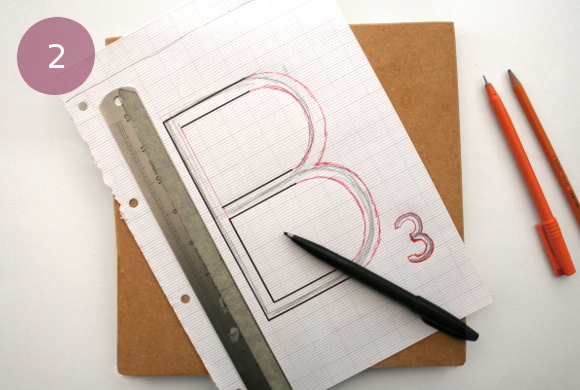
Step 1 – cut as many pieces of MDF as you like into squares to the size of your choosing. I decided on 25cm x 25cm as a good, solid size. I don’t need to tell you to be careful and wear appropriate eye protection and a mask, right? Good. Step 2 – on your graph paper, roughly sketch out your letter {and number – don’t forget the number!} with a pencil. When you’re happy with the shape of your letter, go over it with marker.
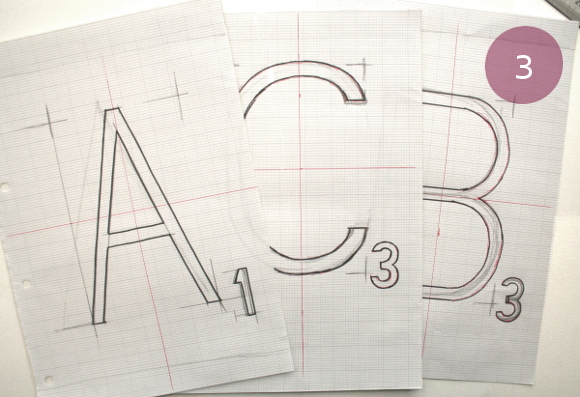
Step 3 – once I had my letters drawn, I used a ruler and a red pen to mark out the centre of the letters – ignore the numbers in this bit. A Scrabble tile is centred by the letter, and the number is secondary.
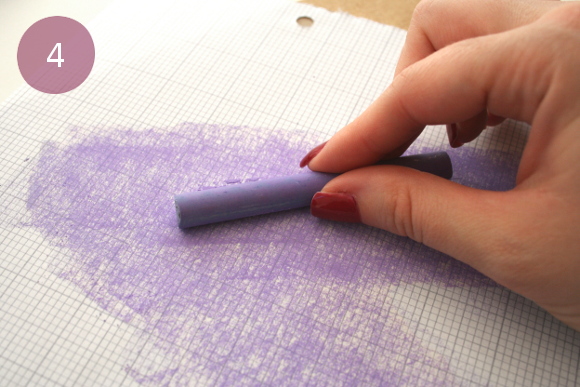
Step 4 – using a piece of chalk, shade the reverse side of your graph paper where the letter and number is. Step 5 – using the ruler on your tile, measure and lightly mark with the pencil the middle point along each edge of your tile. This sounds excessive, but you will be lining up each of the lines to ensure your letter is centred on the tile {as seen in Step 6}. Step 6 – using the red lines and pencil marks on the tile as a guide, centre your letter and tape it into place.
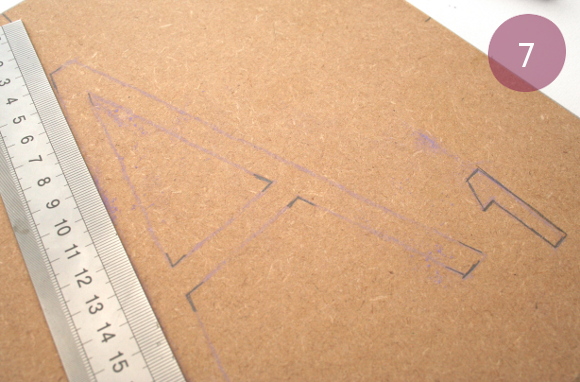
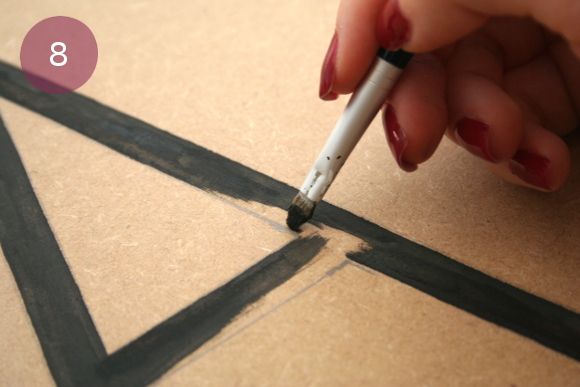
Step 7 – using your pencil, draw over your marker lines. By doing this you are transferring a chalk outline onto your tile, leaving all the measuring, erasing, and guestimating on the paper. You can barely see it in the photo above, but a purple outline is left. I then traced that with pencil before the next step. Step 8 – do what your mama told ya and colour between the lines. I actually use a makeup brush when painting things as detailed as this, as I find the bristles are finer and steadier. Once you’re happy with your painted letters, gently erase the pencil lines, et voila! You have yourself a massive Scrabble monogram …
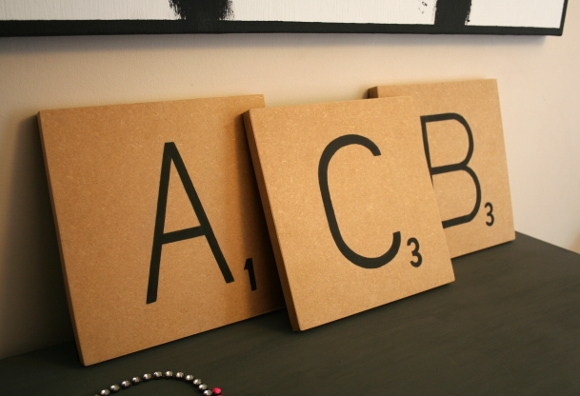
Interesting note: when doing a couple’s monogram, the female’s first initial comes first, followed by the couple’s last initial second, and last, the male’s first initial. So in our case, it’s ‘A C B’. And yes. Our combined initials are the first three letters of the alphabet. And in true Scrabble form, the addition of all three letters = 7, my favourite number. I geeked out a little over that one. It’s like it’s meant to be {barf}.
I hope you have a super fabulous weekend lined up internet friends! I have not one, but two parties to attend tonight. So I’m afraid I must dash as I have yet to put my face on … Might have to get the saw out again. xx A
p.s. Massive thank you again dad for helping me out. This DIY wouldn’t have been done without you 🙂

