Attacked with tape – review

Last year I blogged about my poor man’s version of washi tape – electrical tape. It’s been my go-to for a number of projects around our home. My favourite being our cat food tins, as seen above. I covered both head-to-toe in black and white electrical tape. Pretty straight forward, and a quick fix for an otherwise massively ugly orange tin.

I also covered a small Pringles tin for my desk in work …

… and I recently covered my rather boring 2013 agenda, which had a massive brand name and date on it. Thanks, but no thanks.
{I think} the beauty of electrical tape is that it not only is made to last {i.e. the cat tins have been covered for a year now, and the tape hasn’t morphed, slid or peeled in any way}, and it comes in different colours. I’ve seen blue, red, yellow, green and orange on my travels. And for around €1 per roll in home hardware stores, you literally cannot go wrong. 
You can check out my original tutorial here. Although it’s pretty self explanatory – apply tape ad nauseam.

DIY bell jar

As of recently, my new obsession curiosity with bell jars and cloches may be quite apparent. If not, it will become blatantly obvious after this post. 
I was shmoozing the internet machine the other night when I saw a tip on how to clean out old candle jars. This got me thinking about cloches, and how my leftover 
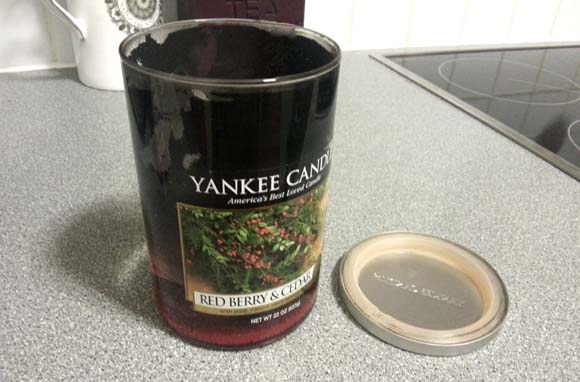
Yankee Candle jar may be a not too distant relative of a cloche – it just didn’t know it yet.

Below is how I turned a doomed candle jar into a cloche {or ‘bell jar’} …  

Step 1 : burn out your generic / Yankee Candle until rendered otherwise useless. Mine got super sooty which only increased the amount of winning this DIY got, since it makes the after picture look 8,000 times better. 
NOTE: this will work best with tumbler shaped jars. Meaning, straight up and down. Having said that, there’s nothing wrong with trying different shaped jars. You won’t find jar racism here. 

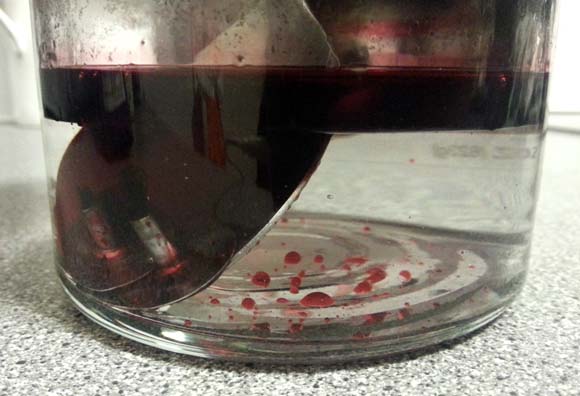
Step 2 : add a metal object to said jar – I used a large heavy spoon. This is so when you pour in boiling water, the glass doesn’t shatter. This bit always terrifies me – slowly pour in hot water almost to the top. I had to get hubby to pour the water in. That’s how much this freaks me out. But it turned out fine, so you shouldn’t worry.

You’ll notice the wax begin to float to the top of the water. This is good. Leave your jar to sit for about 45 minutes. Allow the water and wax to cool.

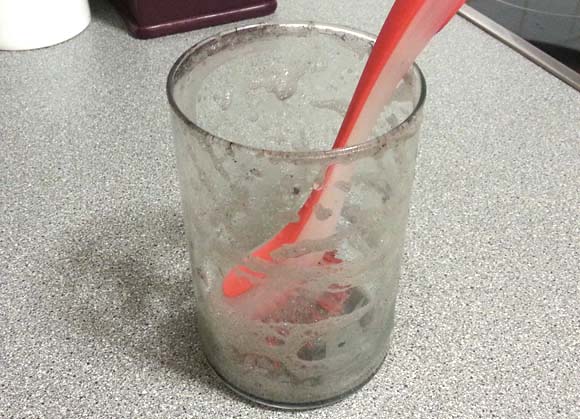
Step 3 : once the wax has reformed and is cool enough to handle, pull the wax off the top. It will still leave a rim of wax, but this can be taken care of easily. 

Step 4 : clean and scrub and clean your jar. The leftover wax can be cleaned off quite easily with a bit of elbow grease and soap.
LABEL REMOVAL TIP: most labels should peel off easily enough. Some may need some scrubbing action, but the really tough labels need the nail polish remover treatment. Use some toilet paper or tissues and use on jar as if you’re getting rid of nail polish. This worked a treat for me.
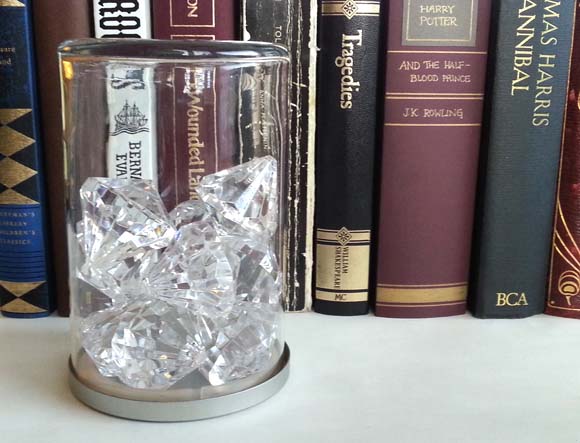
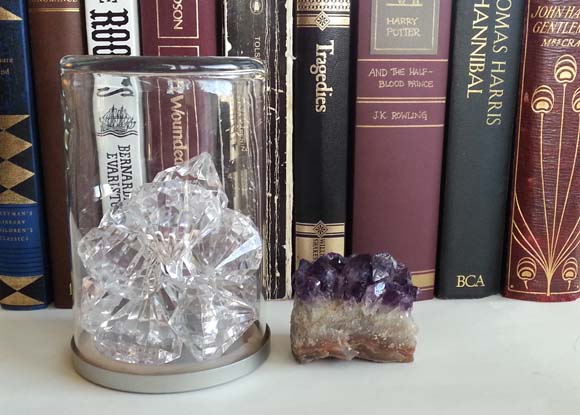
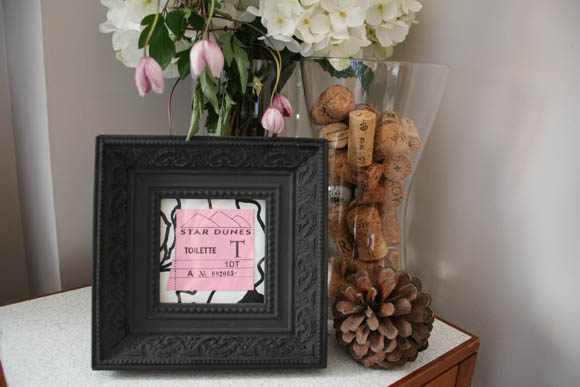
Step 5 : fill jar with whatever lovelies you prefer, put on the lid, and gently turn over. You can also go sans lid by tuning over the jar onto your hand, and then gently placing it onto shelf or surface of your choice.
And there you have it! Quite a simple and effective DIY if I may say so myself. Happy crafting, homies! xx A

2012 – in review

This year has been quite a big year for me. I pushed myself and concocted some more tutorials – some simple, and some not so much. I experienced a roller coaster of emotions that comes with planning a wedding, and experienced some unusual illnesses thanks to stress. But every cloud has a silver lining, and I learned how to better deal with the glory that is stress. We tied the knot, and we’ve gleefully fell back into our old routines, and now that Christmas has come and gone, I can concentrate on cracking out a few more projects at home. Bring on 2013!

I blogged about tips and tricks on how to organize a bookcase {this piece was actually featured in Handmade Living UK magazine, but they went into liquidation shortly after. I would love to share it with you but unfortunately I still haven’t gotten the PDF’s or a copy of the magazine. Massive sad face. C’est la vie}.

The beginning of 2012 kicked off with a healthy dose of DIY’s – attacked with tape, how to kitsch up your kitchen, and my himmeli tutorial. All of which I still adore and have on display, and haven’t gotten bored of any of them one bit.

Our engagement story got into the wonderful Irish wedding magazine, Confetti. That was a fun one since we may have been the first ones to get asterisks into such a dainty magazine. Most excellent.

Using scraps of wallpaper, wrapping paper or other off-cuts as a background, I did up a little tutorial under the title of lovely layers, about jazzing up your framed delights.

In April of this year I bought ‘hydrangeagirl.com’ and made it my own. That was a big step for me, and I felt like such a grown up. HG then turned 2 in August. She’s come a long way baby … 

I love, love, love getting e-mails from folks who have tried out my tutorials. One example, the lovely Robyn e-mailed me her  spin on my deceptive DVD covers. Complete creative winning. It makes all this typing worth while. 

With our wedding fast approaching, some DIY wedding stuff snuck in there too. First up a tutorial for the boutonnieres / button holes I made for the groom and groomsmen, followed by a write up about our flowering wedding favours. A  bit of a labour of love.

And of course, hubby and I got hitched in October, and flew away to a mind-boggling romanitcal honeymoon. Both of which I will be blogging before the new year – I best be getting my ass in gear then. I’m in the agonizing process of choosing which photos to share, without going over the top and boring the hell out of you.

UPDATE: you can see our wedding deets here, and our honeymoon pics here

And in November I kicked off Project Less 365 thanks to Laura Howard, and I’m proud to say even though I only gave myself 60 days to drop 365 things, I think I may have reached my goal already! I can for sure say this clear out process is clearing not only our home, but my mind of clutter too. Less is more, peeps. 
xx A