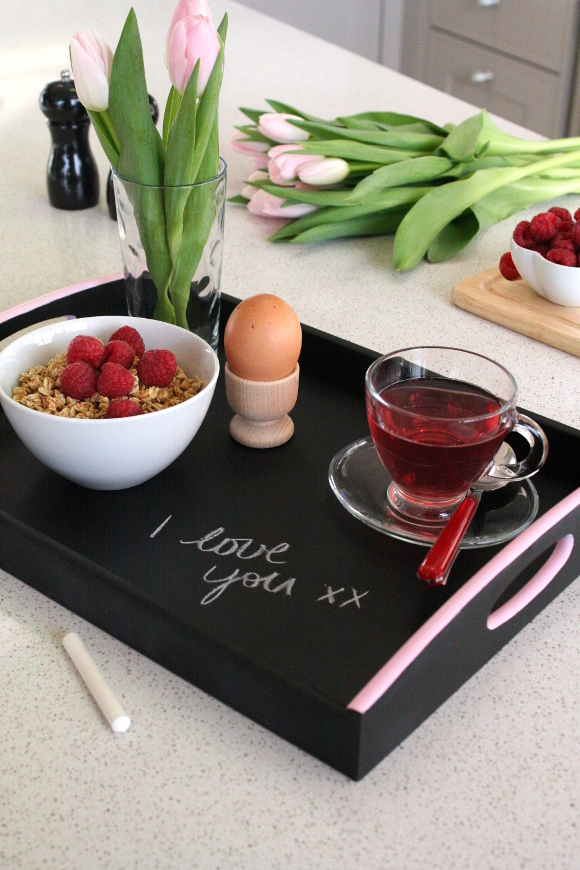
Last month the lovely / incredibly cool Laura gave me a tour of the Woodie’s Tallaght branch to help brainstorm some ideas for my first project with them. We excitedly agreed the first project should be Valentine’s based, and thought of all that could be DIYed for the big day. Most importantly, we wanted it to be an easy project that really made an impact. We checked our calendars and when we realized Valentine’s Day landed on a Saturday this year, we knew something for breakfast in bed would be perfect.
What you’ll need
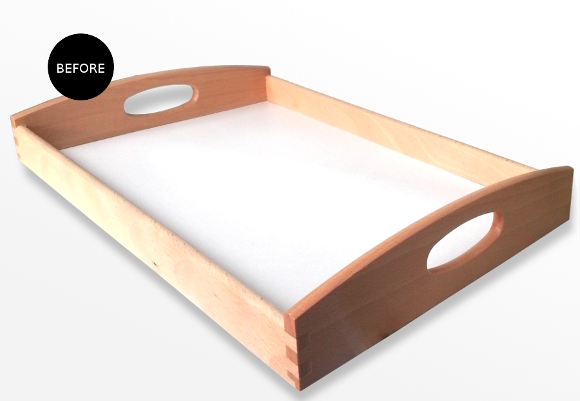
– A wooden tray from Woodie’s
– Rust-Oleum’s spray chalkboard paint, available at Woodie’s
– Dulux tester pot of your choice for the handles, available at Woodie’s
– Paper towel or cloth
– A pair of protective gloves [I reuse the gloves that come included in hair dye kits]
– Newspaper to protect surfaces from paint
– A small paint brush
– And chalk for cheeky messages
Step 1
Step 2
Step 3
Step 4
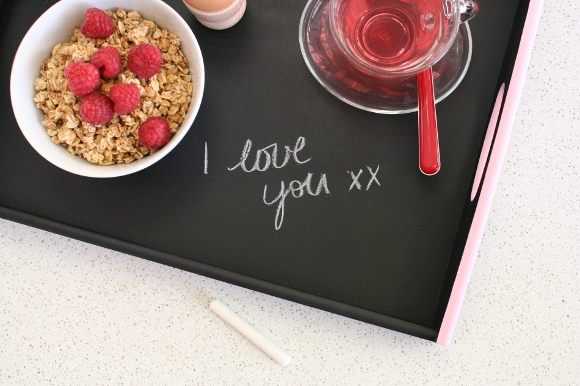
When adding any chalky messages, don’t write too heavily and make sure the chalk isn’t too sharp; if you use a sharp piece of chalk it may etch into the paint.
After breakfast is served and devoured, to remove your message, simply use a damp paper towel or cloth to wipe it clean.
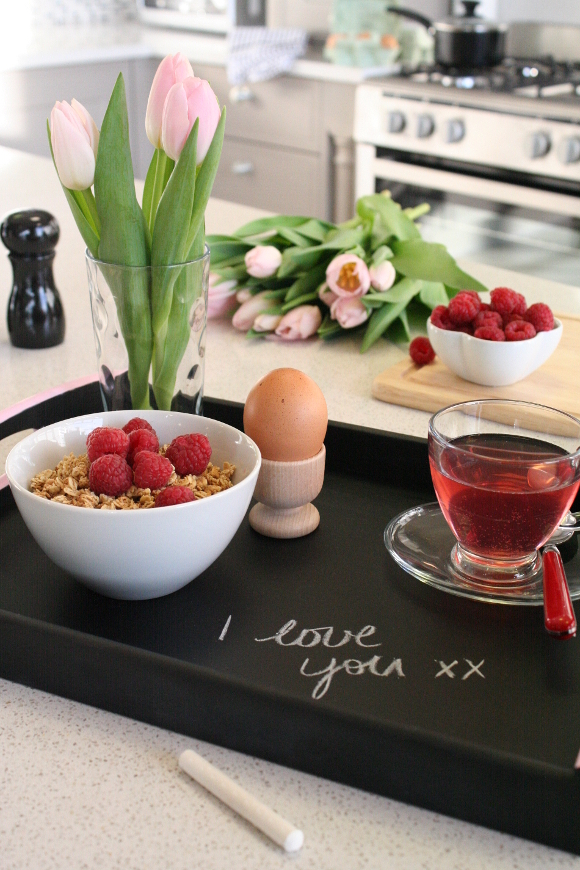
It took me around an hour to do this project, from start to finish. A simple project, but a statement nonetheless. And I should say everything you see in the photo shoot was sourced from Woodie’s. Especially that kitchen.
This project was especially memorable as it was DIYed, styled, photographed, edited and written by yours truly. But more so, working with a company like Woodie’s and with people like Laura who are equally excited and nerdy about home improvement and all things DIY, really is inspiring and so exciting.
You can check out my full tutorial on Woodie’s website as and from now! Go check it out. Get painting. Get inspired. Get cheesy, lovey and creative. It’s tray chic [you’re welcome]. xx A


Congratulations on your first project for Woodies! A very cute DIY, and I love the styling. Painting the edge and handles is such a great idea, it really makes it. That pink looks such a pretty contrast to the black!
Looking forward to more great ideas!!
Maria xx
Thank you so much, Maria! I'm really very pleased with how it turned out 🙂 xx
Eeek! This is so awesome and it looks great on the website! It's such a sweet DIY and I love how chic the black/pink combo is 🙂 Yay! Go you!! xxx
Knew you'd appreciate the bold glam colours, Kimberly! Black and pink FTW. xx
I love the styling and your photos are nothing short of stunning!
Wow, thank you Josie. I'm always learning how to improve my game, so it's all still very much a learning experience for me.