When I look back at all the work I’ve done to bring our rental apartment to where it is, I’m pretty proud of myself. Repainting the entire apartment. Updating the kitchen and bathroom. Sanding, prepping and repainting all the yellowed doors and skirting boards throughout our apartment was a tall task, but worth it. Even though we’re only renters and don’t own our apartment, I take pride in knowing our landlord is over the moon that we’ll be leaving our apartment in better condition than we found it. I like a good project, no matter how remedial and non-glamorous it is.
Now that all the skirting boards and doors are no longer yellow, the only remaining major eyesores were the heaters. And boy, were they eyesores …
With the most epic of timing, Rust-Oleum got in contact with me and asked if there was a product of theirs I’d like to try out. I did a quick search on their site and when I saw their radiator enamel spray paint, I knew I had to try it.
The most noticeably yellowed heaters in our apartment are the two in our living room and one in the hallway. There are two more [one in each bedroom], but they’re nowhere as obvious. Once my Rust-Oleum paint arrived I got to work. I asked Dad DIYer to help with dismantling one of the storage heaters with me so I could see how easy it would be to dismantle the rest of them on my own. Storage heaters are full of bricks and I as I explained in my upcycled vacuum cord pendant post, anything electrical make me all kinds of nervous. I felt a lot better knowing my dad was helping out.
NOTE: please read all manuals that come with your heater / radiator before disassembling them and disconnect the mains where necessary. But you guys knew that.
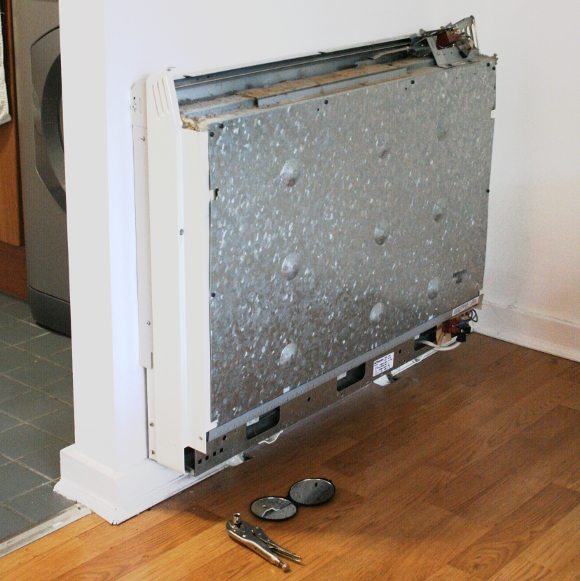
We dismantled both the front and top panel on the storage heater for spray painting. Ideally, I was hoping to disassemble the entire heater to spray paint it elsewhere, but we were stopped in our tracks when we discovered the heater was on brackets that were bolted under the floor boards [which you can better see in the last picture]. So I was going to need to paint the side panels indoors.
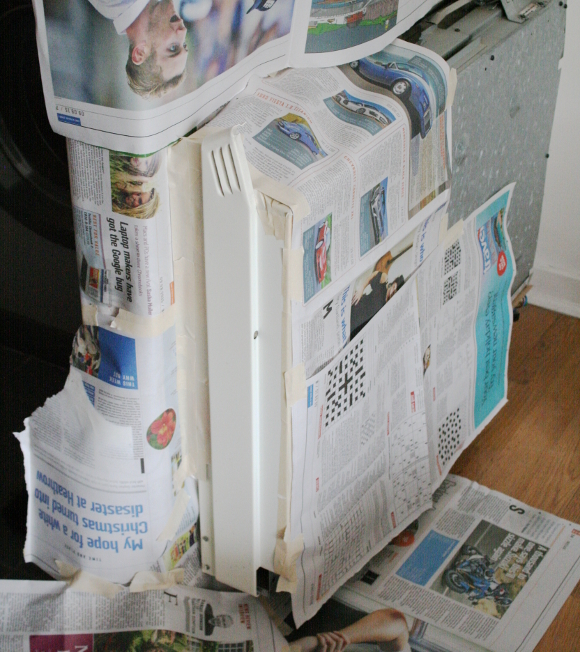
Before long the heater looked like a Mr. Bean special. As advised by Dad DIYer, I taped a giant plastic bag around the exposed side panel [not pictured] and spray painted within the bag so the overspray didn’t get everywhere. I then took the remaining panels outside and gave them 2 coats of Rust-Oleum’s white radiator enamel paint, let them dry and reassembled the heater again.
TIP: cover any text or instructions on your heater with masking tape before you spray paint. Because remember, you won’t be the only one using them now or in the future.
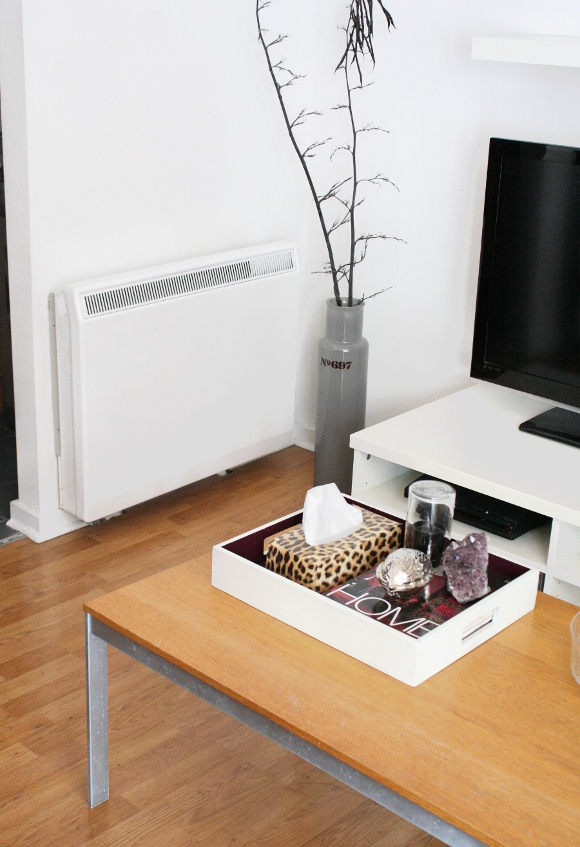
Since it took a bit of planning to paint the one heater, it’s the only heater I’ve repainted so far. But I am very much looking forward to our heater[s] doing what they’re supposed to – disappear into the background, not be a focal point and keep us warm. I for one am so happy with the result. No more fugly radiators! I know, I’m easily amused.
Thank you again, Rust-Oleum!
Disclosure – Rust-Oleum generously supplied radiator spray enamel free of charge to help in my never ending quest to update our rental. As always, all words and opinions are my own. I only work with companies I like and of course, think that you will too. Thank you for supporting the companies that support The Interior DIYer.

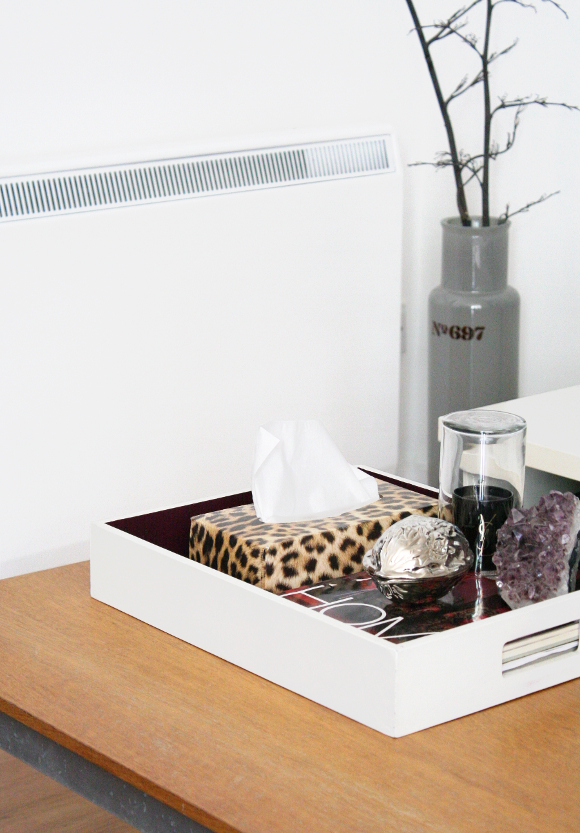
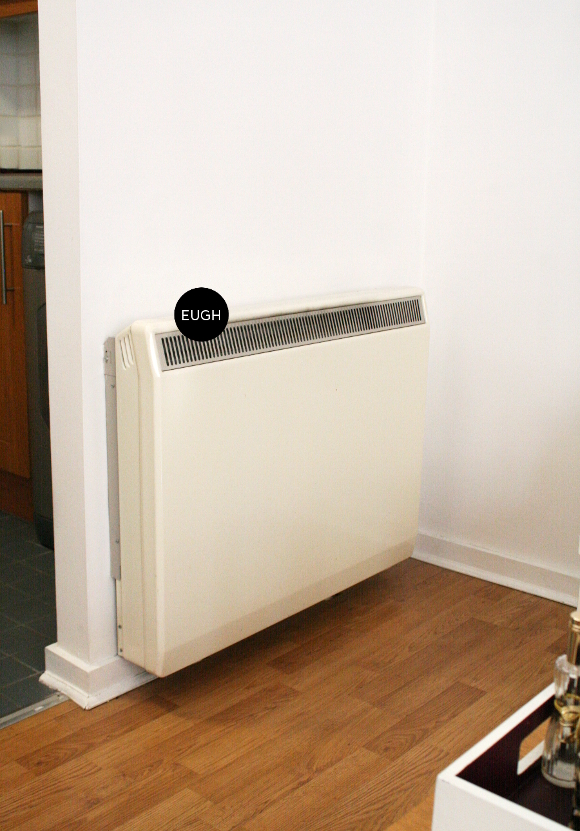
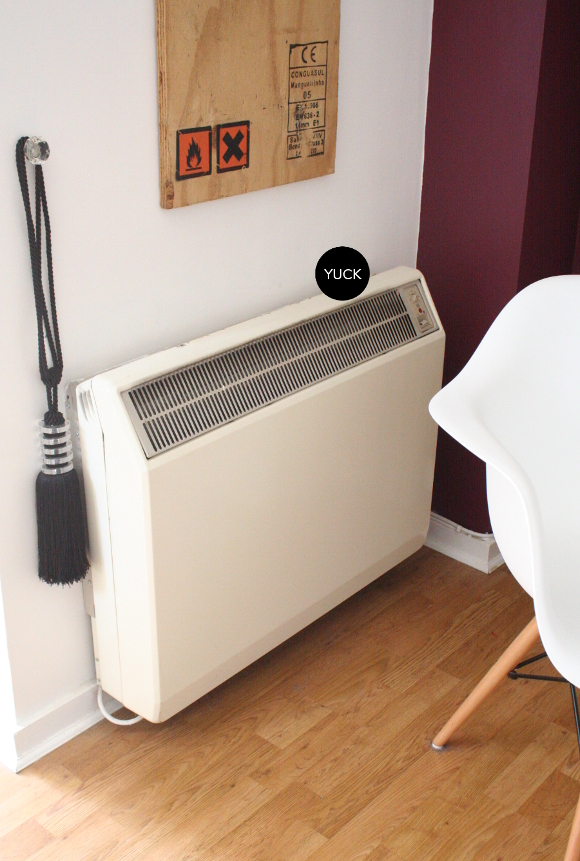
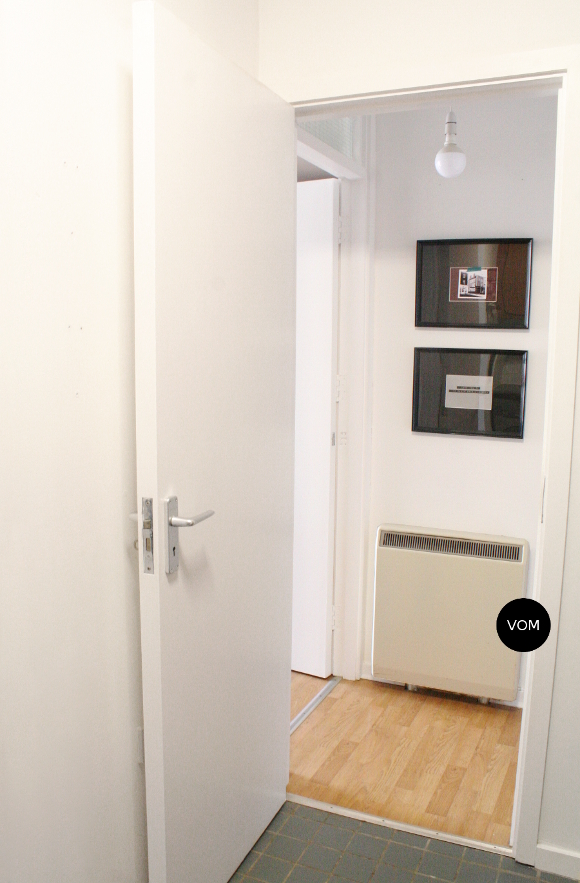
Oh my god MASSIVE DIFFERENCE!! That came out so well and I totally get it when you change one thing and it makes such a huge difference!! Awesomesause. Xxx
I know, right?! Since that specific heater is so close to our TV, I was in a constant state of stink-eyeing it. All these yellowed things in our apartment were driving me insane and I'm so happy they're (soon to all) going to be white. White. WHITE! Soz, magnolia.
I had a good chuckle over your different ways of expressing that you didn't like them. My personal favorite was "Vom". Also, I am binge reading your blog, since I haven't had as much time to of late. I apologize in advance for the mass comments. 😀
I loved seeing all your comments come in, Wheele. Spam away, my dear! 🙂
And yes, the heaters truly are vom. They look quite good in my before pictures. My pictures are far too flattering to how truly vom they are x
This makes such a difference!! So much cleaner and brighter, no eye-sore – well played! Love that grey vase with branches too – looks so good against the fresh white. xx
Thank you darling! I just grabbed that vase so the heater didn't look to lonely in my photos, but I quite like it there in the living room. It's still there, so that's a good sign 😀
wow – that's some transformation. They look great. I've a storage heater in my apartment – it's manky. No idea why the builders would choose to use one so recently – I thought they were ancient things that no one uses anymore, but obviously not. I'd love to try and transform it, I'll put it on my (very long) list of things to do!
I know exactly what you mean Ciara! We've been here 6 years and I'm only getting to sorting the fugly heaters now. I've only spray painted one so far, but it has made such a difference.
And I have a list on the back of one of our doors of projects I need to tackle. I feel your pain.
Wow Alex that looks amazing, I want to do this as we have the exact same radiators as you, ick! I have one question; how has the paint performed when you've turned the radiator on? Thanks! X
Thanks Cassie! I actually haven't turned the radiator on just yet (I'm waiting as long as I can, but we've had a cold snap so it might have to be turned on this weekend). As the paint is made for heaters and is meant to withstand quite hot temperatures, there should be no problems. I'm not sure if that helps at all Cassie, but I will let you know if anything out-of-the-ordinary happens once I do turn them on. Which is looking sooner rather than later with this weather we're having 🙂
Just wondering if there’s any update on this please? How has the radiators handled the heat? Thank you 🙂
Author
I can’t speak to how they’ve held up in recent years (as we moved out of the apartment close to three years ago), but we lived through two winters after I painted them and the paint held up perfectly! With proper care and maintenance, I don’t see why they wouldn’t hold up well and without too many touch-ups needed.
That heater looks amazing! Was that a satin or gloss paint you used?
Author
I went with the satin finish paint, which blended nicely with the background (they weren’t the kind of pretty radiators you wanted to draw attention to).
Hi is this safe to use on storage heaters as I thought you had to use certain paint?
Author
I did use specific paint. I used Rust-Oleum radiator enamel spray paint which is specifically for radiators.
I would never advise anyone to use regular paint on the likes of a heater.