Hanging accents for small spaces

I’ve written about our spare bedroom a good few times before. It’s a tough little room as the bed pretty much takes up the whole space, so adding things like accessories, can be challenging.

A couple of months ago I was struggling to get our spare bedroom ready for a guest coming over. I had some magazines, a little vase of flowers and some knick-knacks on the bedside table to make it feel a bit more welcome. Not to mention the lamp as well. Once I was finished, I realised there wasn’t enough room for said guest to even put their phone on the bedside table.

Insert obvious pun relating to being driven up the walls here. And then it clicked – the only way was up!

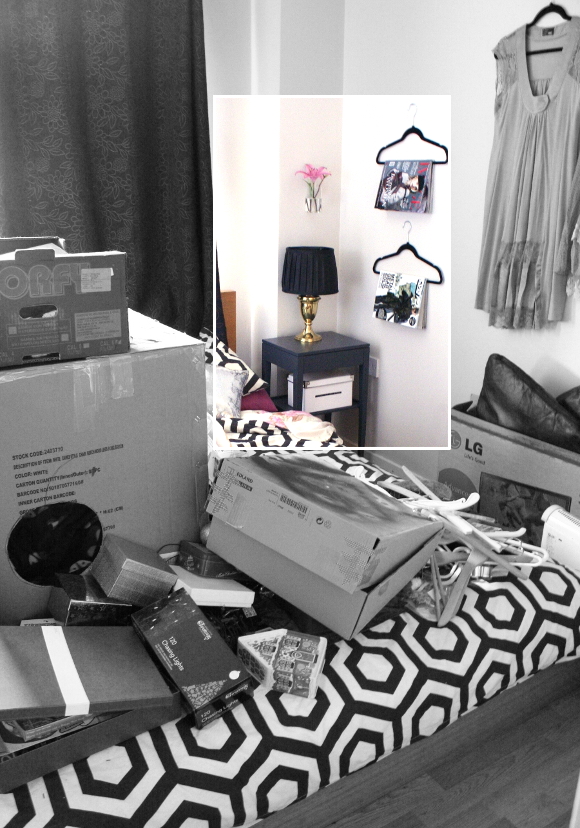
I bought these velvet hangers from Dunnes Stores (€5 for a set of 10), perfect for hanging up magazines and the likes above the bedside table. I didn’t put much thought into the placement of the hangers, just somewhere easily within reach from the bed, and stacked them to add a bit of variety.

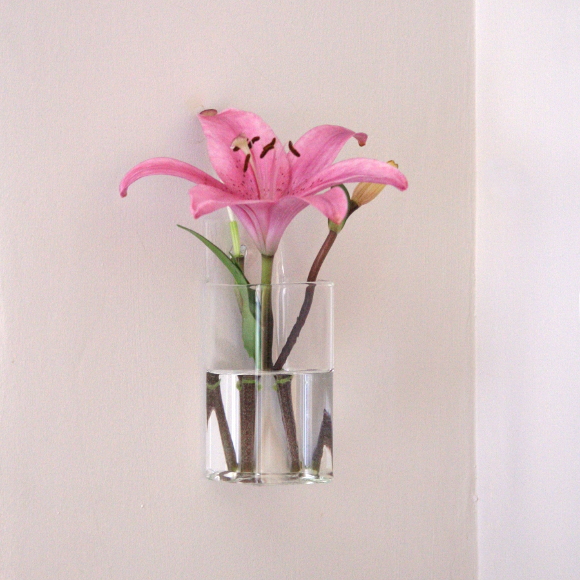
I spied the glass hanging vase from Tiger just before Christmas and thought it was perfect for the spare bedroom wall. That’s the thing with Tiger – if you see something you like, you have to grab it with both hands, hold on tight and lock it down, because chances are the next time you stop in, the stock will have changed and it will be GONE. Like that girl in that GONE GIRL movie*. So I grabbed it with both hands [and paid for it, obv].

Also, don’t always believe what you see in online (and magazine) features. The rest of the room is chaos …

Just keeping it real. Bloggers are humans too.
And don’t worry Kimberly and Maria, it’ll be tidy for April. Promise. xx A

Also featured – bedside table and lamprescue kit for unexpected guests

*I have not seen Gone Girl so I don’t know if this is a reference that makes sense. It sounded like it would fit at the time of this being published. It’s tough trying to be a lyrical genius. 

DIY Friday – cardboard monogram

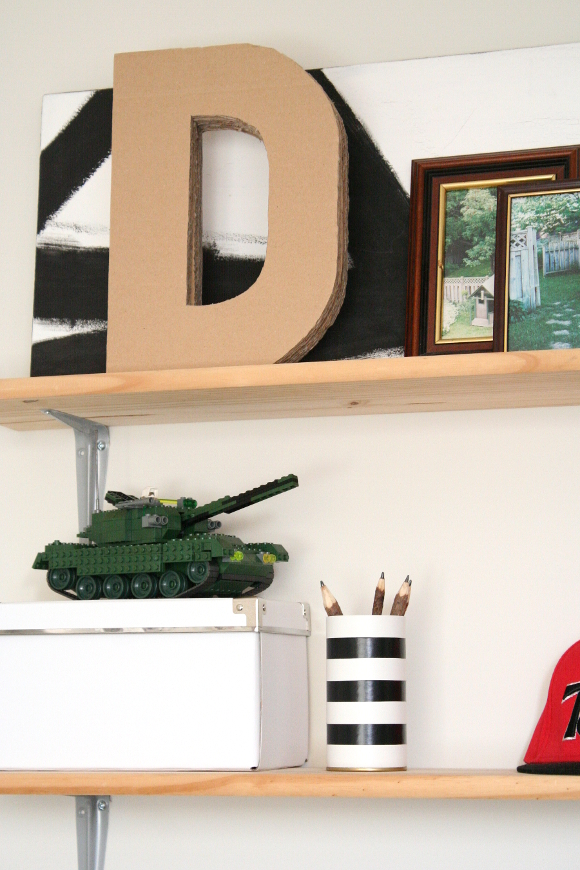
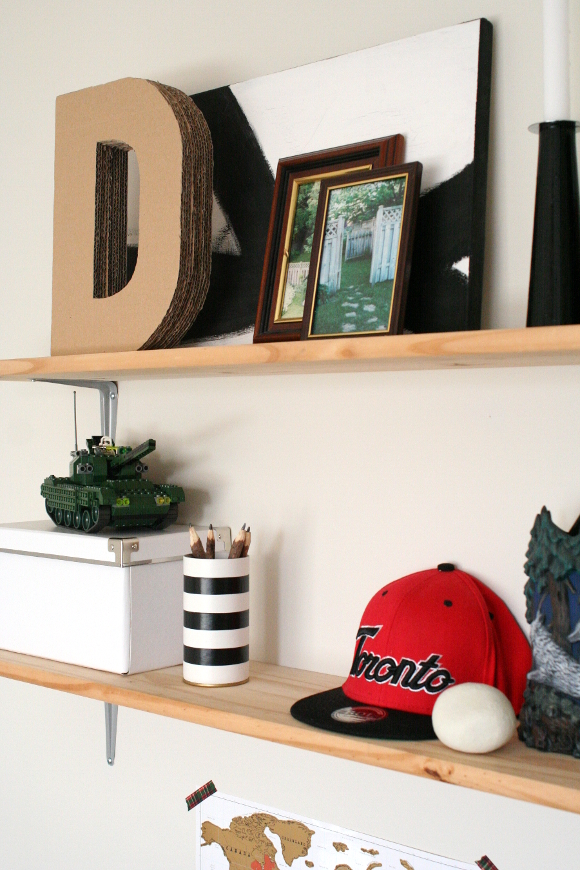
For my brother’s new Canadian man cave office, I wanted to make something new for his shelves as so many pieces in his office were being sourced and recycled from his own ammunition. Not complaining, but I had an itch to DIY a thing [or 3] for his room. One of the things I wanted to make was a free standing model of my brother David’s initial as mini focal point.

A 3D, if you will. 
I know. 
My husband is so lucky to have found me. 

While I was letting the idea roll around in my head, I got a delivery that came in a massive cardboard box. Not one to waste anything, I quickly saw the box as the perfect medium for the project. Thus the cardboard monogram came to be! And here’s how I did it …

What you’ll need
Cardboard
Scissors
An exacto knife / Stanley blade
A pencil
An A4 piece of card or thick paper
Spray adhesive

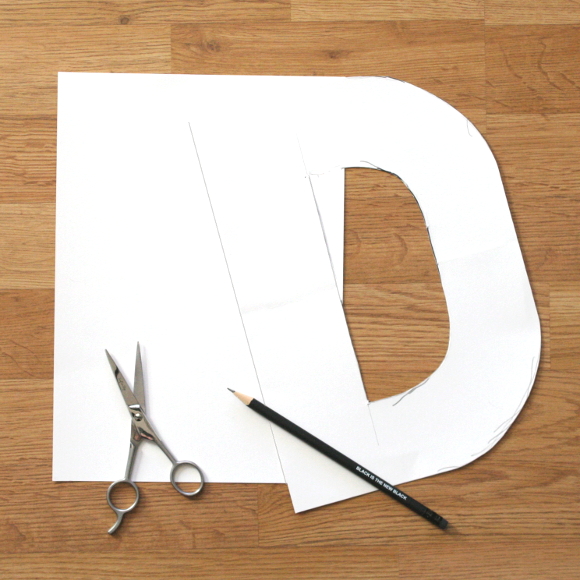
Step 1 – I used an entire piece of A4 card paper as the template; I simply rounded off the corners, eye-balled the centre and cut it out.

TIP – it’s important to use a template vs. using the last piece of cardboard you cut out to draw the next piece. If you were to do this, each letter would not be uniform. It’s like taking a photocopy of a photocopy of a photocopy. You get the idea.

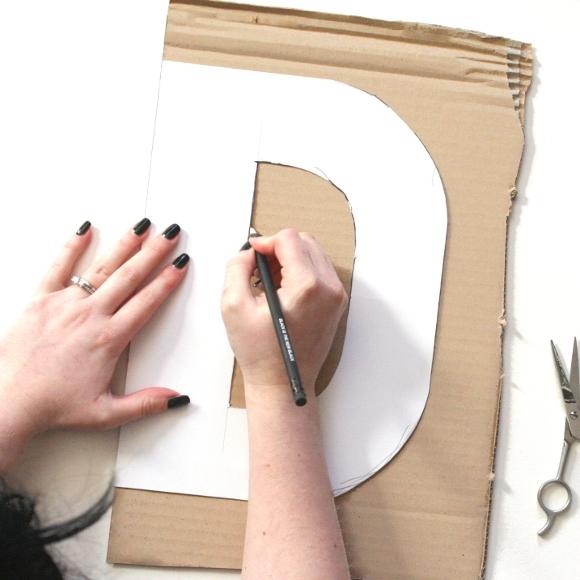
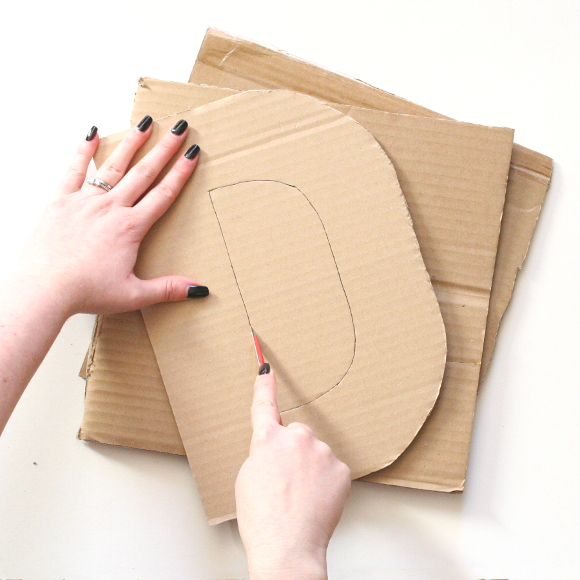
Step 2 – using your paper template, trace your letter onto the cardboard. Try not to get your hair in the way. #BigHairProblems

TIP – if the letter you’ve chosen has a large straight edge [ie – the left edge of the ‘D’], line this up with the edge of the cardboard to make it easier on yourself and you’ll have one less side to cut out.

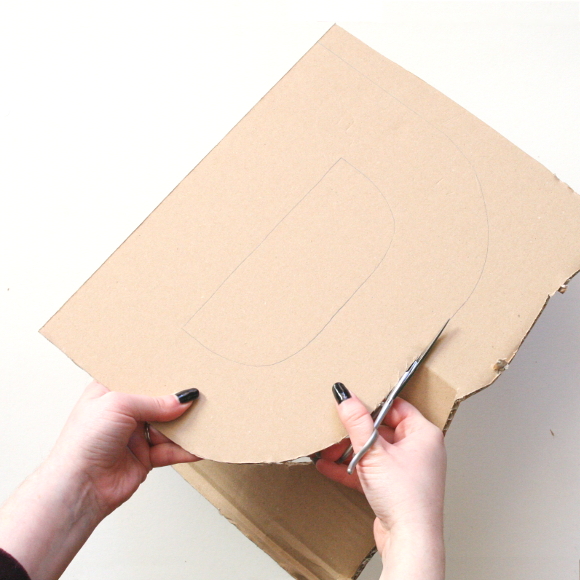
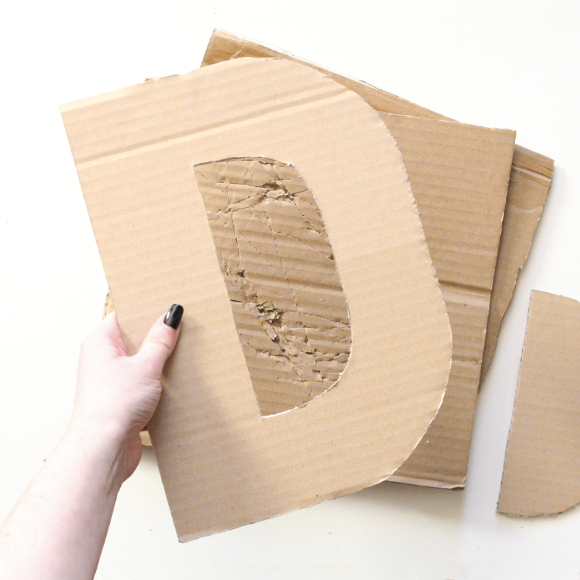
Step 3 – cut out your letter with a good, comfortable pair of scissors. This might be a bit tough, so the more comfortable your scissors, the easier it’ll be.

Step 4 – using your exacto knife / Stanley blade, cut out the centre of your letter on top of a cutting mat or as I did here; using 3 pieces of cardboard underneath. And for the love of all things holy, please be careful when using an exacto knife / Stanley blade. I know you’re careful, but I just have to say it.

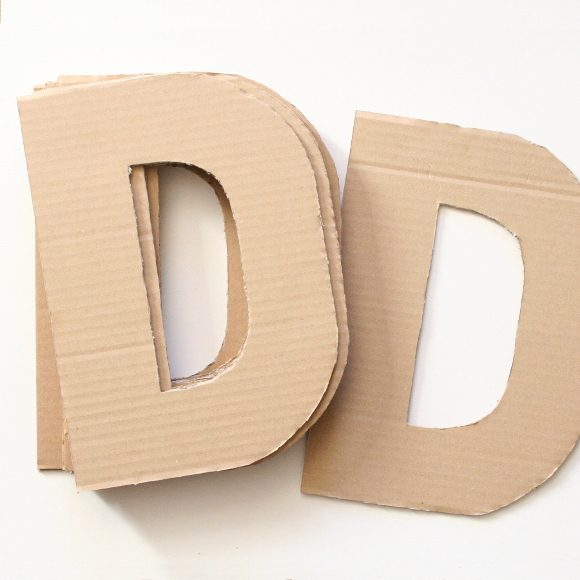
Step 5 – repeat the above steps to cut out your letters until you have enough to made a 3D letter. This can be any amount but I found 15 pieces to be a good number.

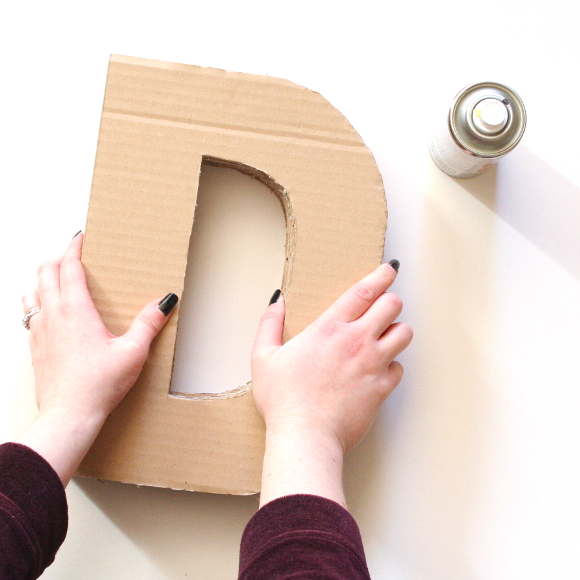
Step 6 – using spray adhesive in a well ventilated area, spray each letter and stack them together, making sure to give priority to aligning them correctly at the base, as this is where it’ll matter most. If the letters are not aligned here, it won’t stand properly. 

I sprayed and stacked the D’s and placed a couple of heavy books on top of them for a couple of hours to ensure they stayed put. And that’s it really! I’m very pleased with how it turned out, and so was my broseph. And so was husband actually. I think I’ll be making a couple for our place too.

And that’s how got some bespoke aesthetic out of a cardboard box. Happy Friday, homies! xx A

Canadian man cave – reveal!

After 4 months of brain storming, DIYing and carefully planning, my brother’s Canadian man cave office is complete! I finished and photographed the room yesterday afternoon, and after wading through 200+ photos, I’ve narrowed it down to just a handful of pictures. Times four. 

As my brother’s a college student, the budget for his home office was basically non-existant. But for me that just made it more of a creative challenge, and I personally find that more interesting than someone throwing a wad of money at me to design a place. But I will say, if you feel so inclined to throw a wad of money at me, you will still have my attention. 

Note – I’ll be including a source list at the end of the post, so if you see something that I haven’t mentioned, it’ll be mentioned there! 

My brother wanted a Canadian man cave retreat for an office, and I’d like to think a Canadian man cave he got. If you’d like a reminder of what the office looked like before, check it out here. I’ll start by taking you through the desk area of my brother’s office …

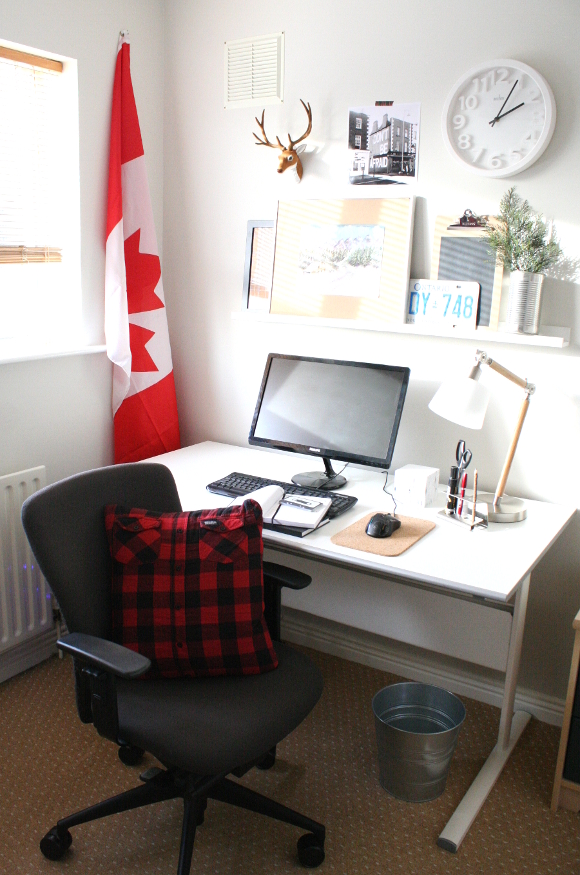
There are so many changes that happened in this room, I don’t really know where to start. I first moved his desk so it was along the back wall with the window now on its left. It’s now the first thing you see when you walk in the room and as he’s right handed, the most amount of natural light is coming from the left. 
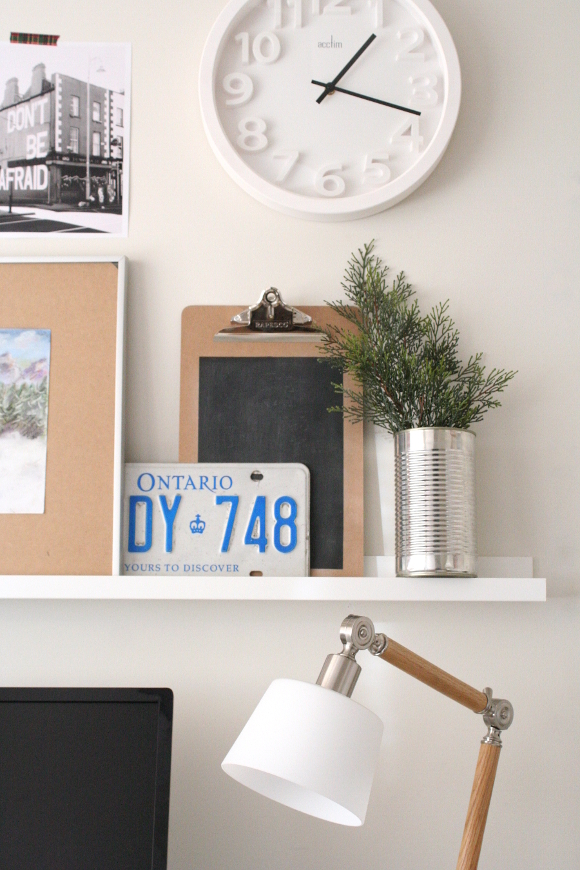
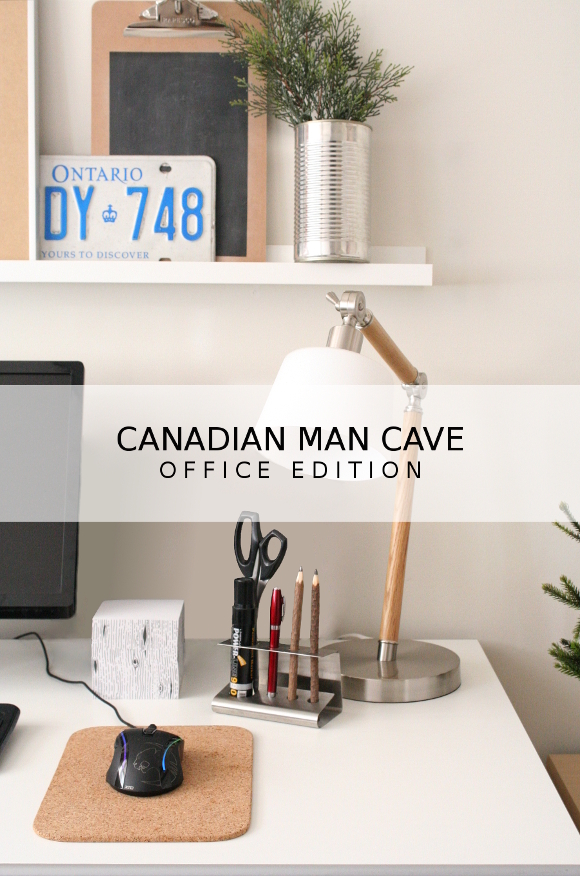
I added an IKEA shelf above the desk to hold a few piece of artwork and a chalkboard clip board. I wanted to use this type of shelf here so my brother can easily change whatever is in his line of sight above his desk, without hammering loads of holes in the wall every time he changes his mind. 
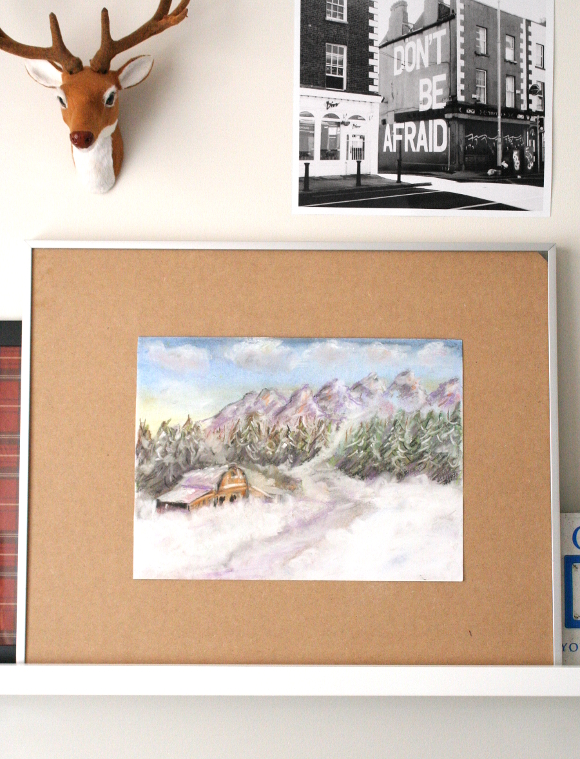
I styled it with one of my dad’s old Ontario licence plates, a clock from Tesco, a faux taxidermy stag from Tiger, and of course some artwork.

It was important that there was artwork in his room. Manly artwork. And since we were on a tight budget, we DIYed most of it. I asked our incredibly talented and artistic mom to create a Canadian scene to hang over my brothers desk. She created this pastel piece in an evening. It’s perfect as it’s one of those scenes you could get lost in. 

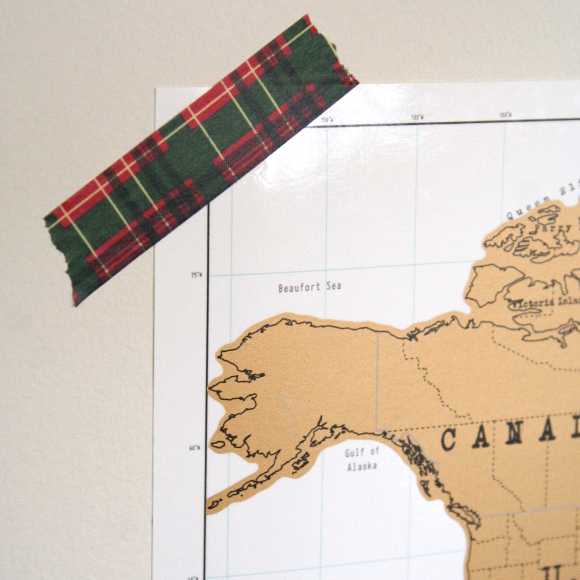
I also printed an Instagram I took of some of Maser‘s work as some encouraging words, and hung it over with some manly plaid washi tape [that arrived just as I was leaving yesterday – YUS]. I also framed some plaid wrapping paper I picked up over the holidays so add some depth. 

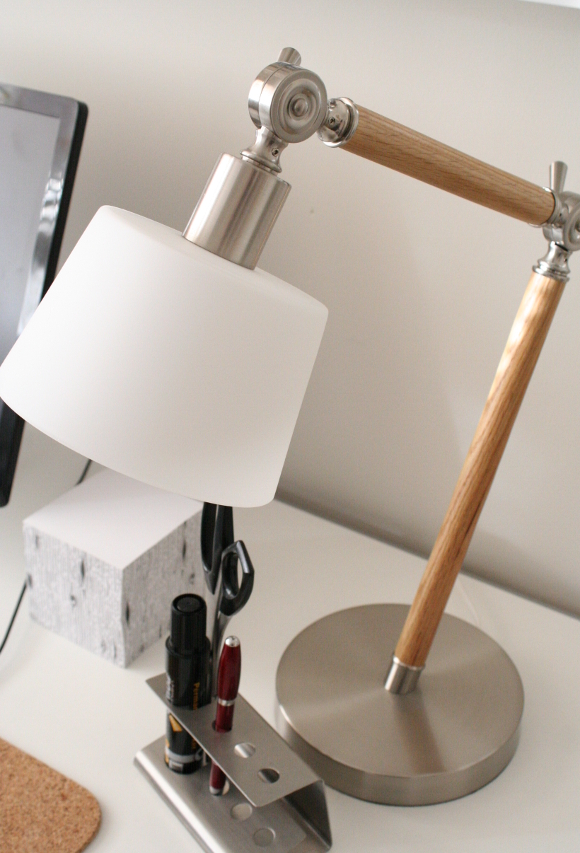
My brother wanted a ‘man lamp’ for his desk, and he mentioned he really liked angular lamps. I searched high and low for a lamp with a translucent shade. Why a translucent shade? It was important that if my brother was using just this lamp in his office on a dark day, a lamp with a solid shade would be very harsh and not cast light throughout the room; it would only cast light down at his desk. But this way, this warm lamp will light up the rest of his room.
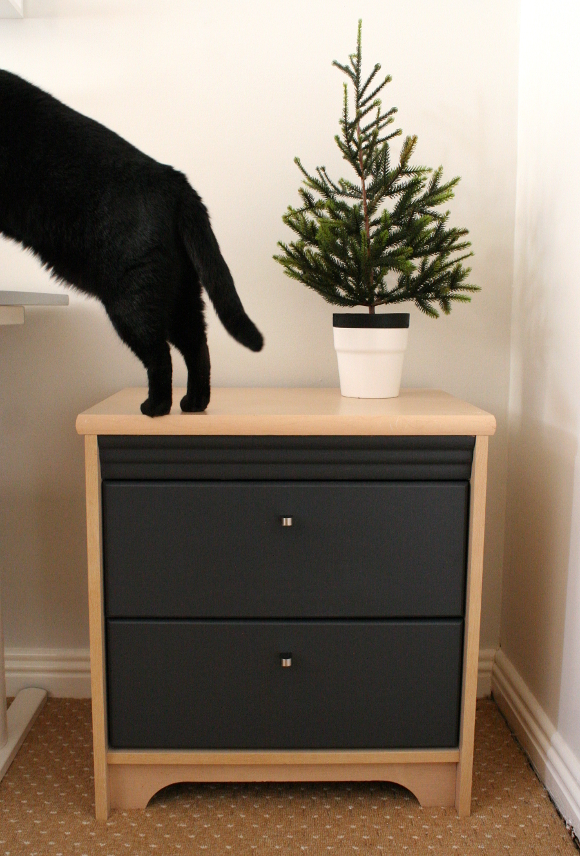
Thanks to Smudge, one of my parents cats, I upgraded an old bedside table to act a desk drawer to hold all the office supplies. Which will segway nicely to the shelving area of the office … 

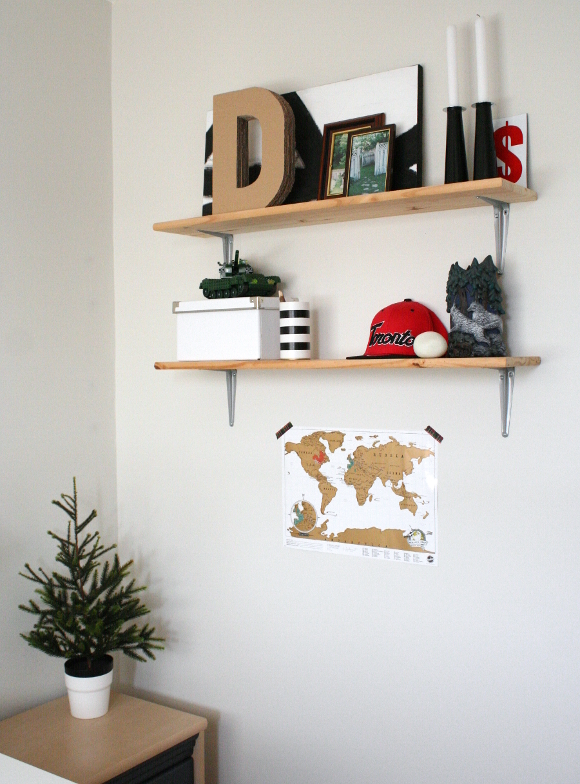
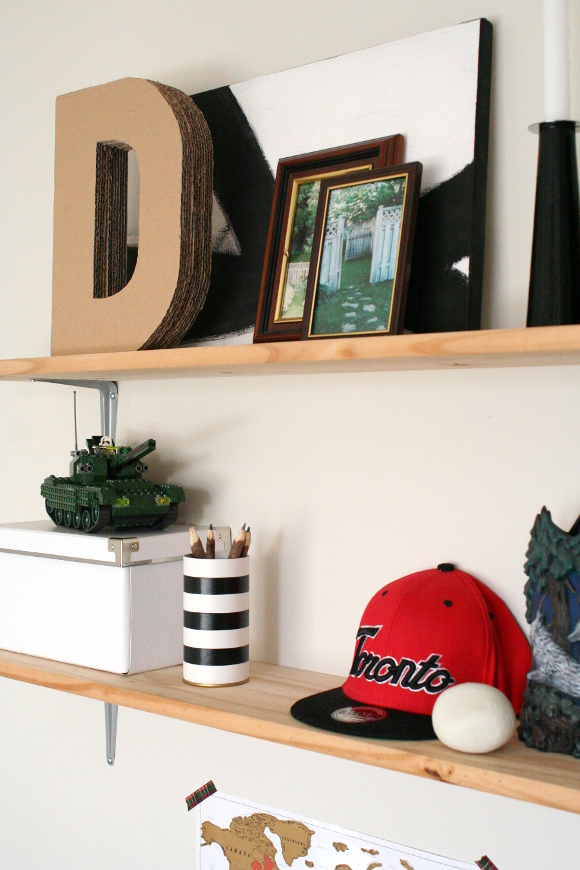
It was important I reuse as much as I could when redesigning my brother’s office. My parents had a set of old shelves so we removed the previous wooden brackets and I added a slightly more industrial style bracket to make it seem a bit more manly and rustic.

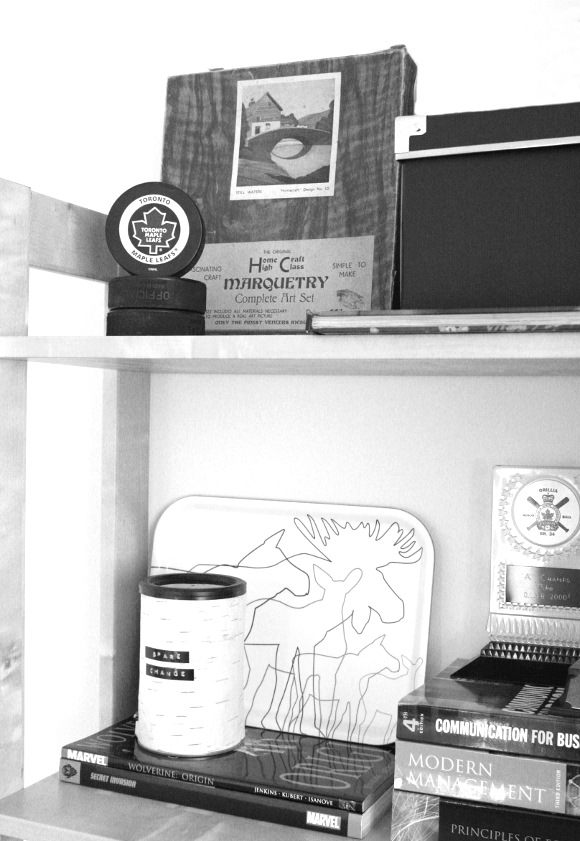
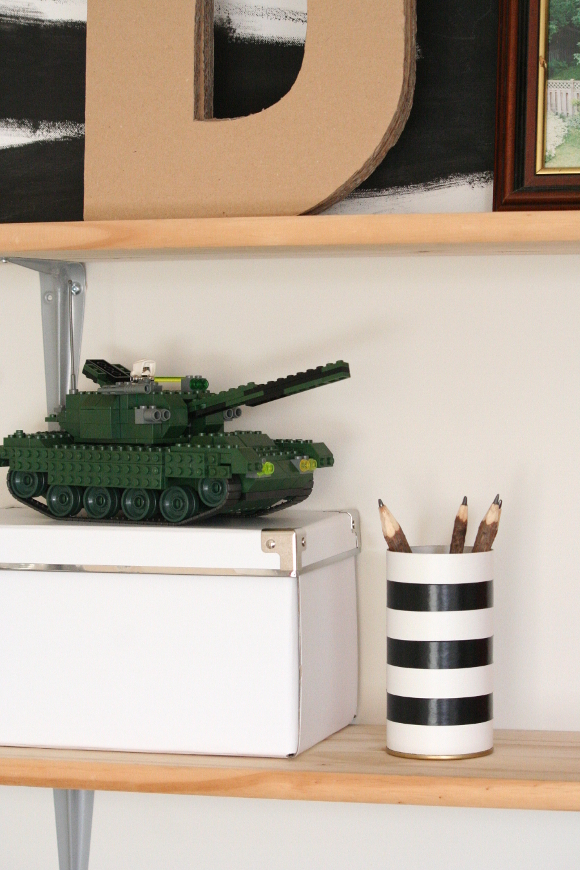
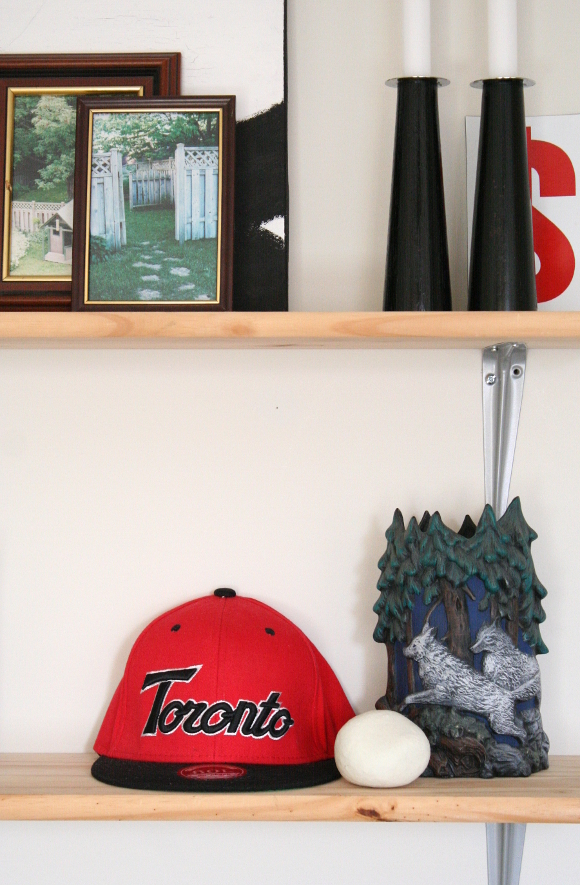
I had way too much fun going through all our old treasures to deck out the shelves. I used an old black and white canvas I painted for our office as a backdrop [as seen here], added some pictures I took of our backyard before we left Canada, a wolf vase I painted in primary school in Canada, a baseball cap and of course – LEGO. My favourite thing is that little white ball. Husband and I bought that when we were in a design shop in Helsinki – it’s an everlasting snowball. When you squeeze it, it crunches and sounds exactly like a compacted snowball. I mangle it every time I see it. 
I got the loveliest text from my brother yesterday to thank me for all the work that went into his room. I’m sure there were a couple of moments where he wanted to tell me where to go, but he was strong. For me the most rewarding part was taking a room and turning it into a retreat that will help my brother work towards his goals and of course chillax. After all, that’s all design is – creating a comforting and inspiring environment. 

Stay tuned as I’ll be sharing some of the DIYs and upgrades that went into the room over the next couple of weeks. And as promised, here is my source list … 

Paint – ‘swan’s a swimming’ from Crown Paint
Desk – our dad’s architectural desk

Desk drawers – repurposed bedside table
Chair – owners own
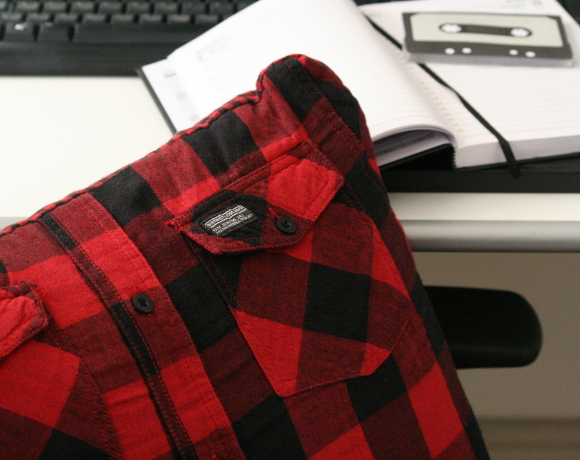
Man pillow – check out my tutorial here!
Flag – owners own
Lamp – Hybrid task lamp from Marks & Spencer

Faux foliage – IKEA
Chalk clip board – see my tutorial here!
Faux taxidermy deer head – Tiger
Mouse pad – repurposed cork dining mat
Pen holder – repurposed drinks mixer holder
Notepad – IKEA
Shelf over desk – PS wall shelf from IKEA
Framed plaid paper – wrapping paper from Dealz
Bin – SOCKER plant pot from IKEA
Faux tree – FEJKA artificial tree from IKEA
Wooden shelves – repurposed
Shelf brackets – Woodies DIY
Cardboard monogram – check out my tutorial here! 
Plaid washi tape – BacktoZero on Etsy 
White storage box – KASSET box from IKEA
Black and white striped mini vase – see my tutorial here!
Wolf vase – hand painted by me in primary school
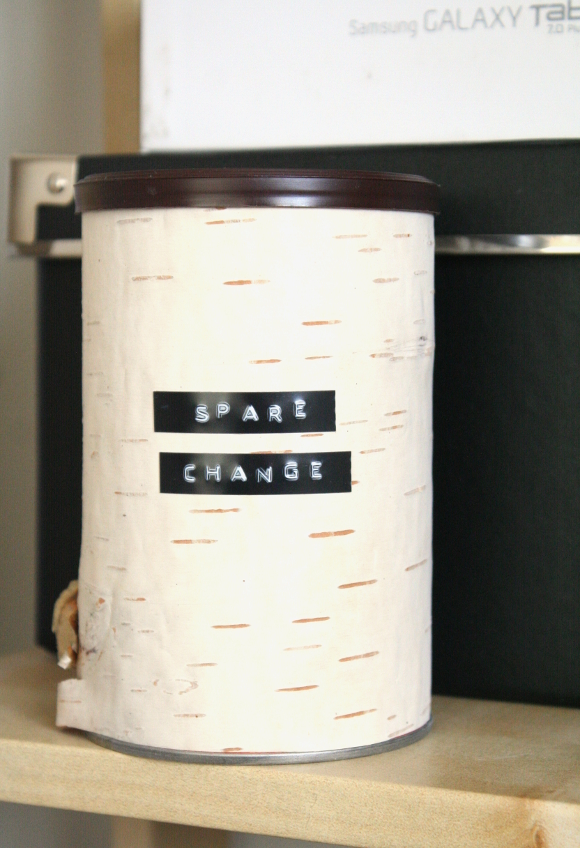
Birch covered change container – see my tutorial here!